Deploy a RDS infrastructure (session-based desktops) on Windows Server 2012 / 2012 R2 / 2016
- Windows Server
- 29 December 2018 at 15:17 UTC
-

- 3/6
4. Configuring the license server
By default, when deploying Remote Desktop Services, the wizard doesn't install a license server.
However, you will need it to assign your CALs to your users or devices (client computers) so that your users are allowed to connect to your session hosts or virtual desktops (in the case of VDI).
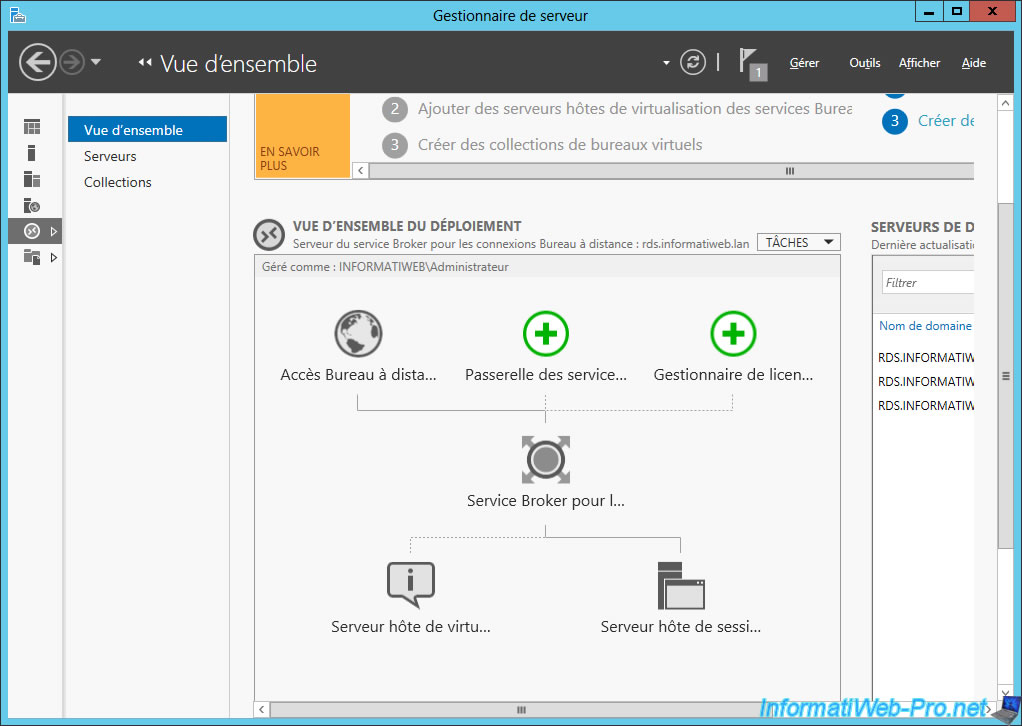
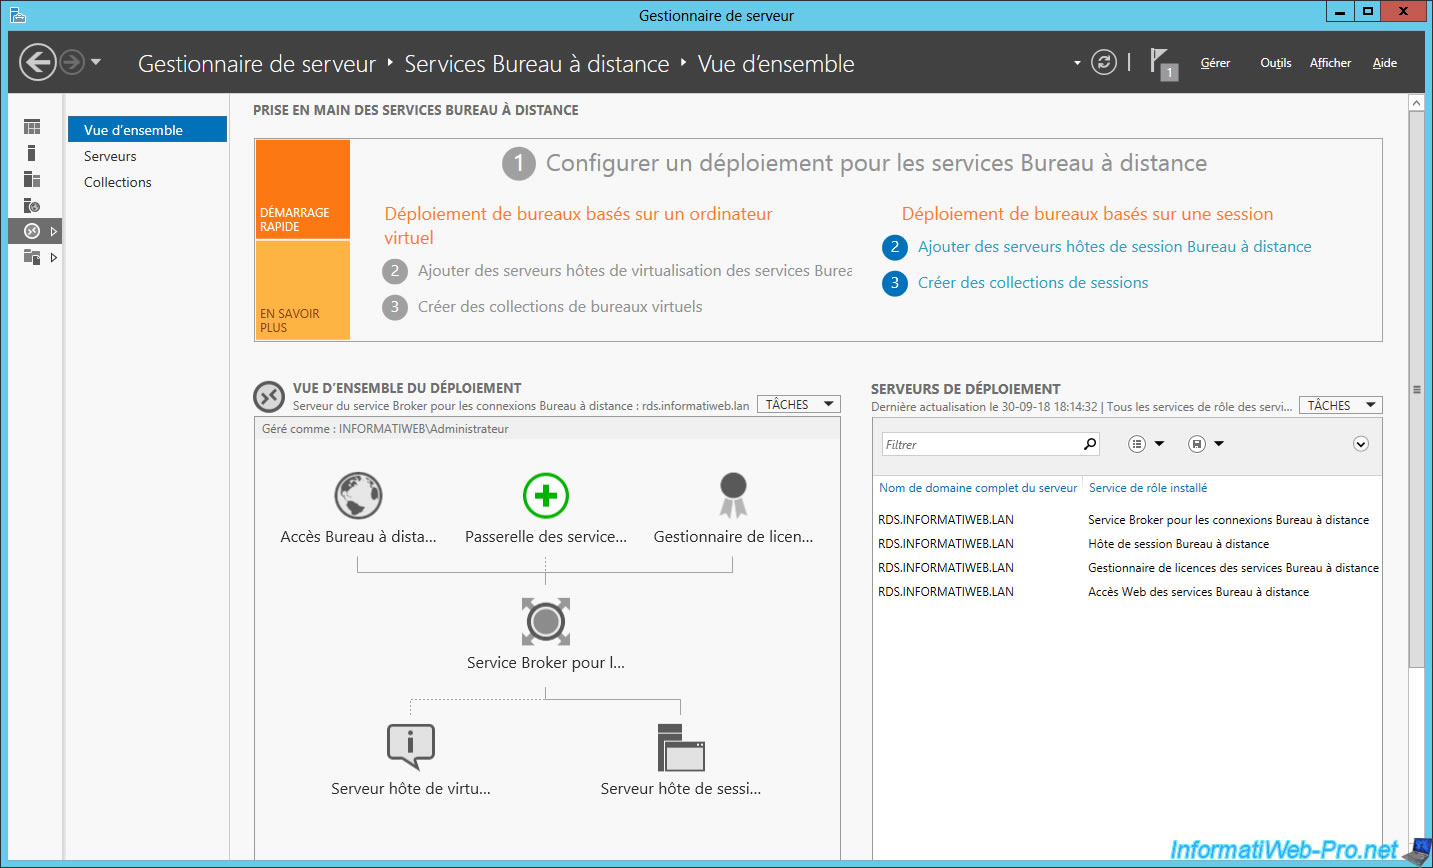
To install and add at least 1 license server, click on the green + named "License Manager" in the deployment overview.
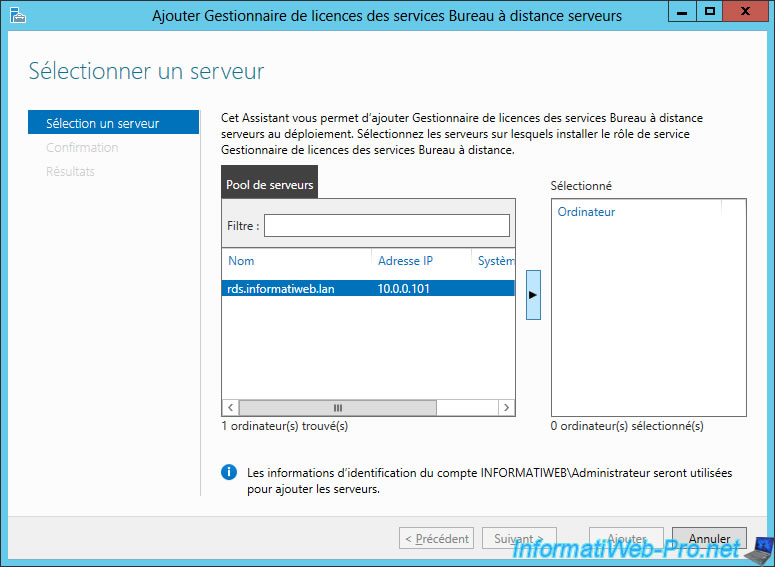
Select the server where you want to install the license manager and click on the arrow in the center.
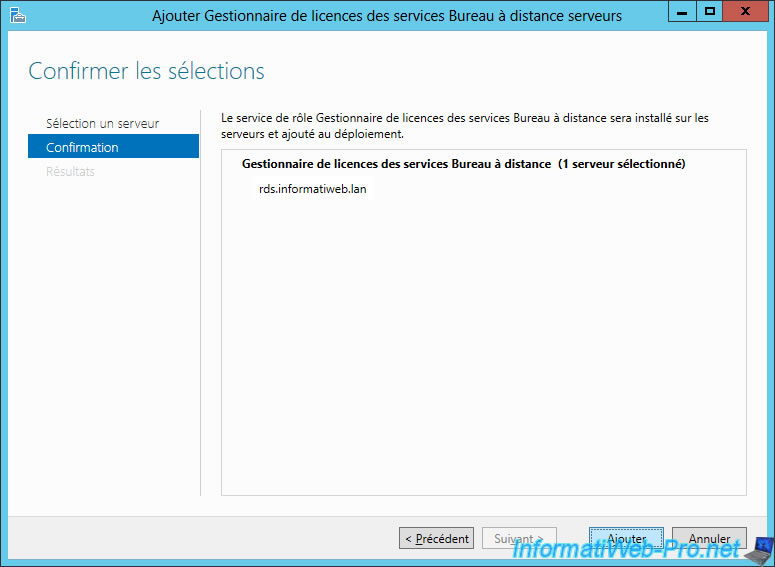
Click Add.
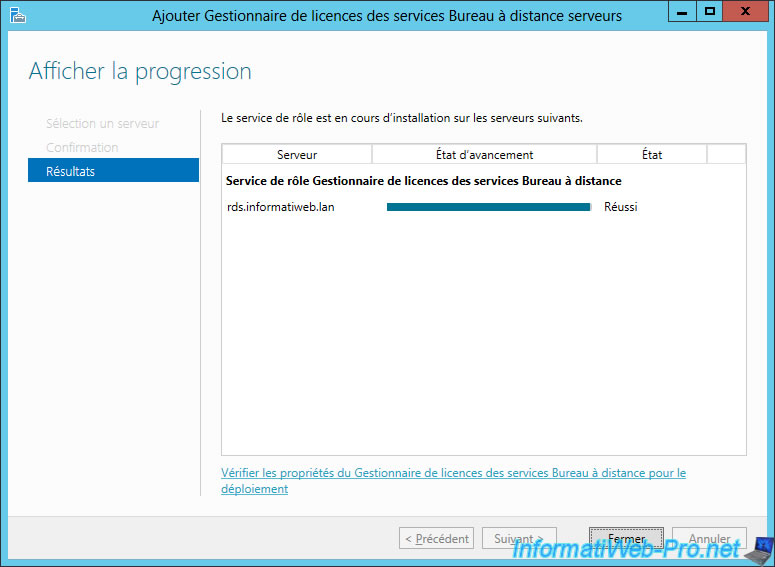
After the license server installation is complete, click the "Check Remote Desktop Services licensing properties for deployment" link to configure the license server.
Note : if you have already closed this wizard, you can also access it from the deployment overview, via the "Tasks -> Change deployment properties" button.
Select the license mode that matches the type of CALs you purchased :
- per device
- per user
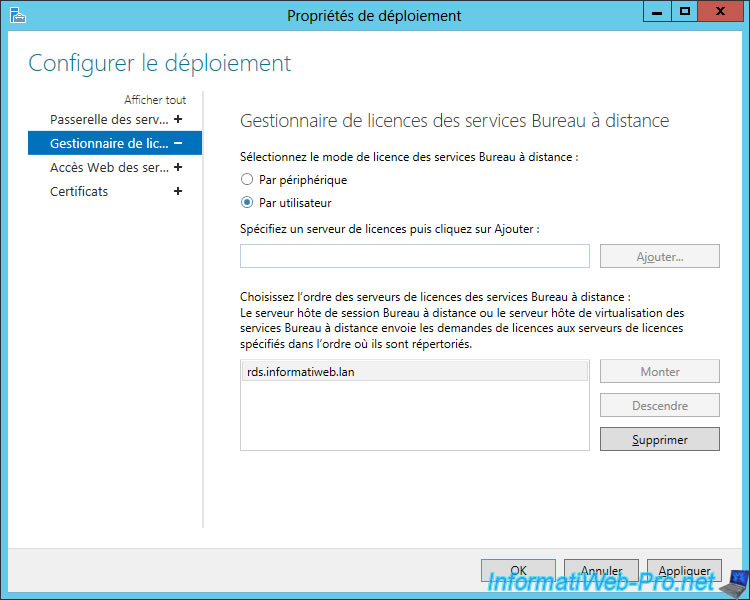
Now, the license manager is part of your Remote Desktop deployment.
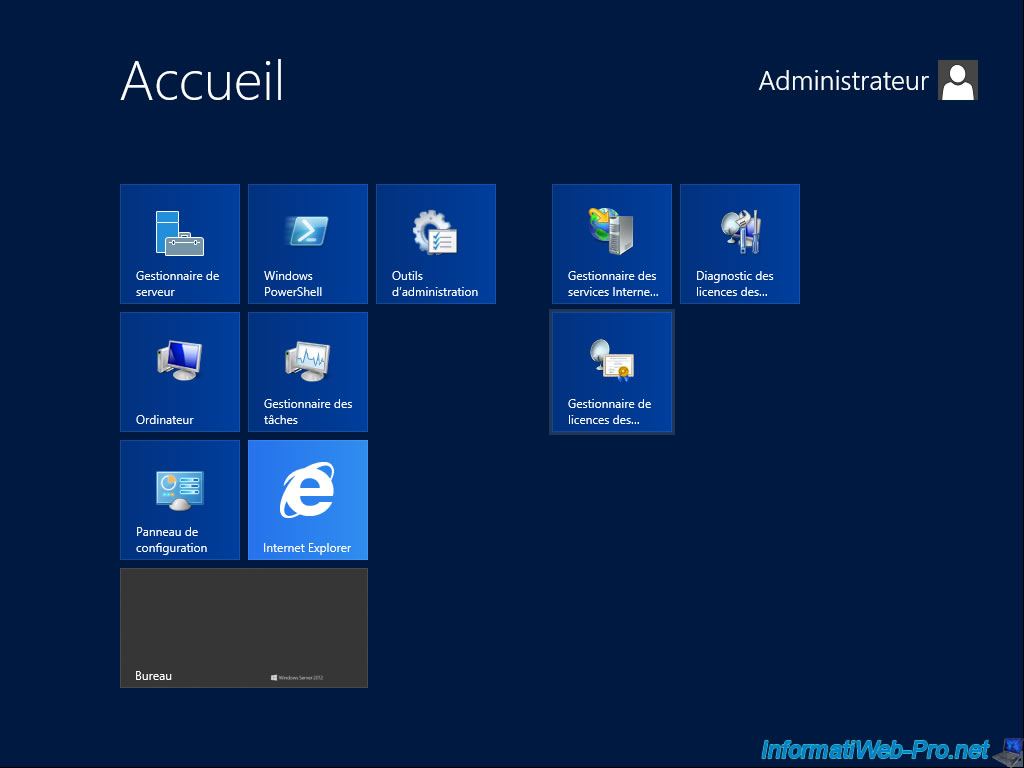
In the Windows Server 2012 modern interface, you will find 2 new programs :
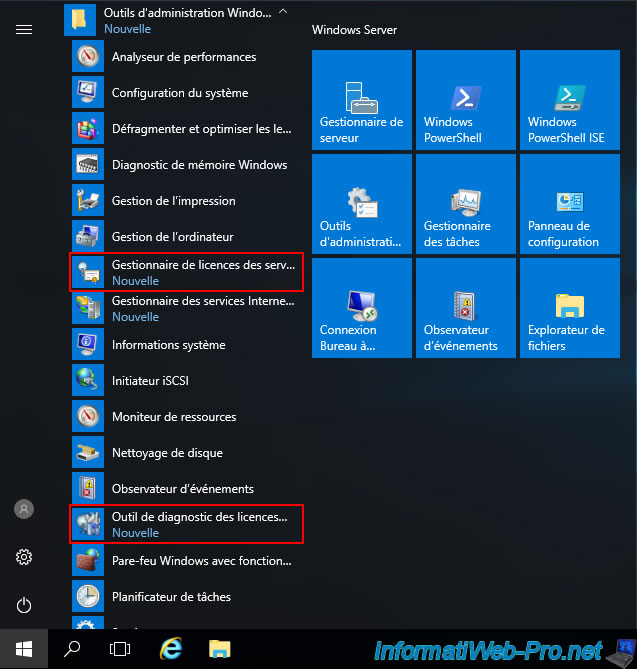
- RD Licensing Manager
- RD Licensing Diagnoser
On Windows Server 2016, you will find the shortcuts in the start menu.
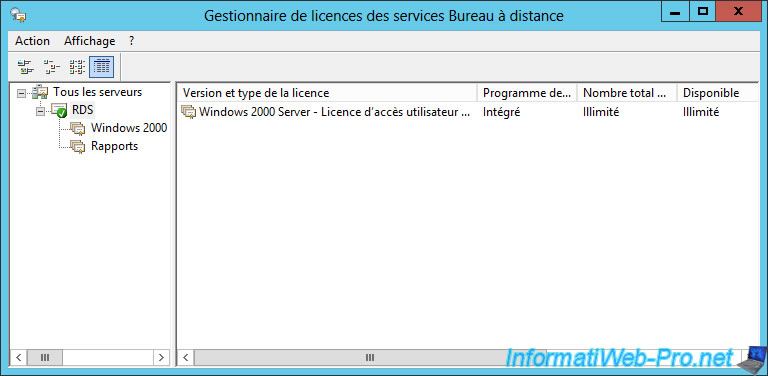
By default, you will notice that it's not enabled and you have an unlimited number of user access licenses (or CALs).
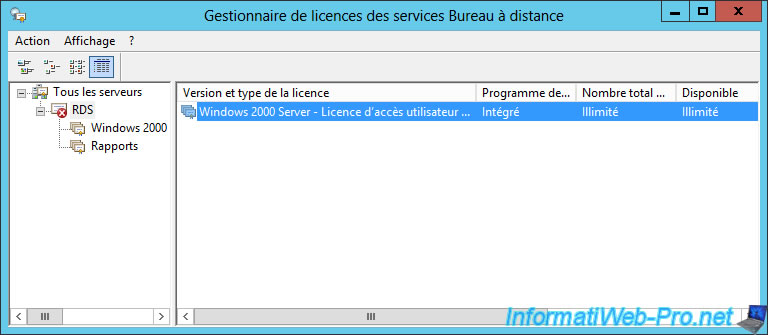
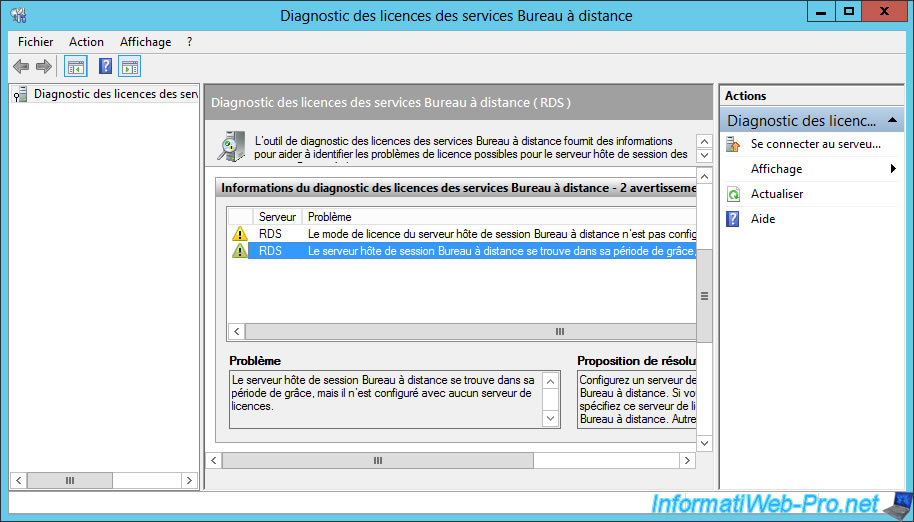
The unlimited number of user licenses in the license manager is simply because you have by default a 120-day grace period that starts from the time a user logs in for the first time to one of your desktops or will use one of your RemoteApp programs.

This grace period is displayed in the "RD Licensing Diagnoser" program.
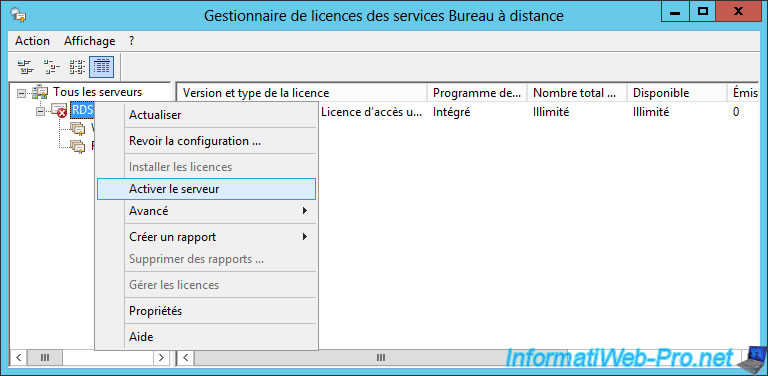
To activate and use your license server, right click "Enable server" on it.
The Activate Server Wizard will appear.
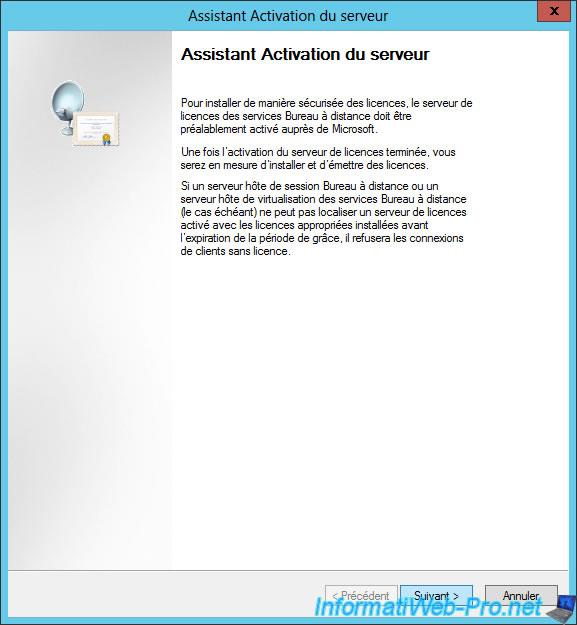
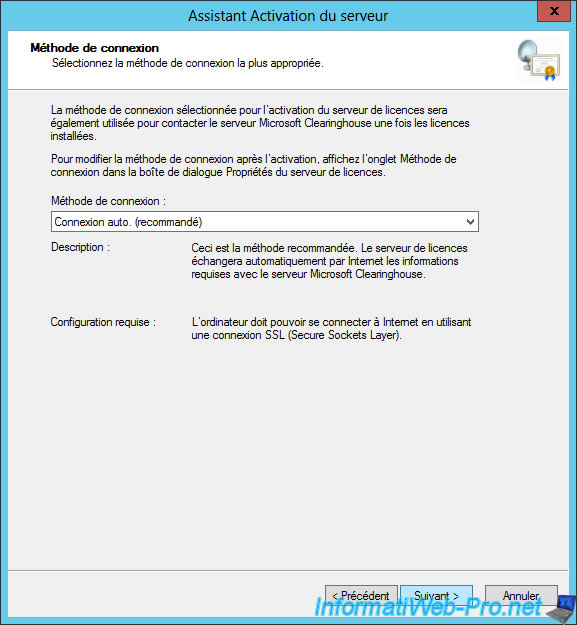
By default, the method used will be : automatic connection.
In other words, the license manager will connect directly to the Microsoft Clearinghouse server.
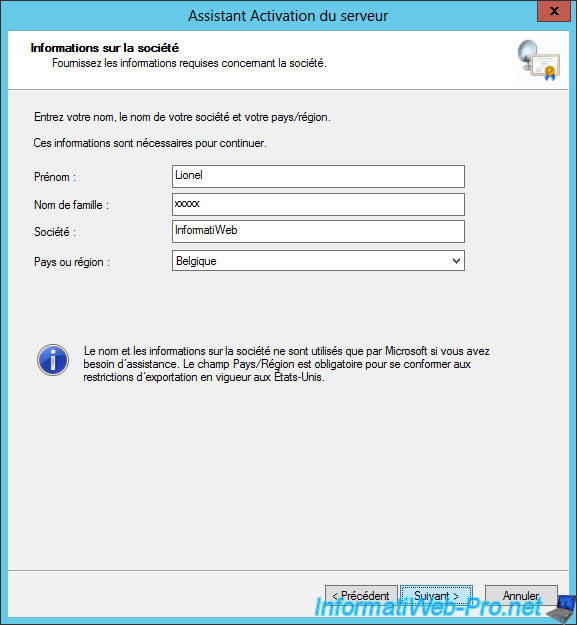
To activate your license server, you will need at least to provide :
- your first name
- your last name
- the name of your company
- the country in which you live
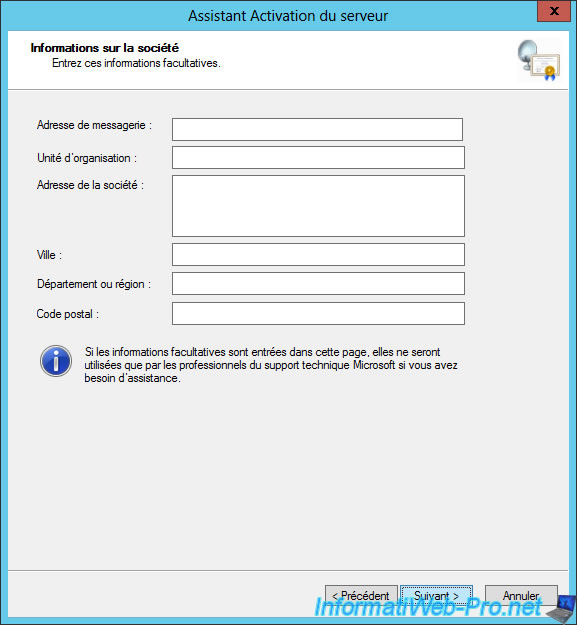
Specfiy additional information if you wish.
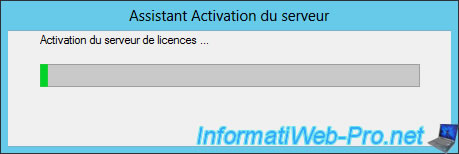
The server communicates with the Microsoft server to activate it.
After the license server is enabled, check the "Start the Licenses Wizard now" box and click Next.
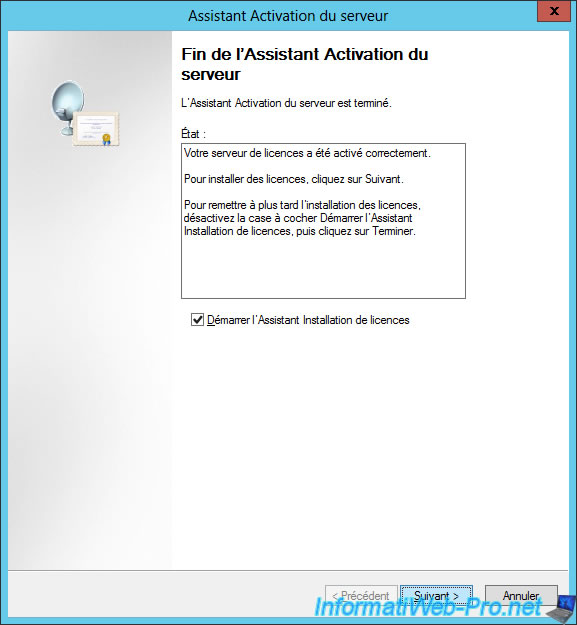
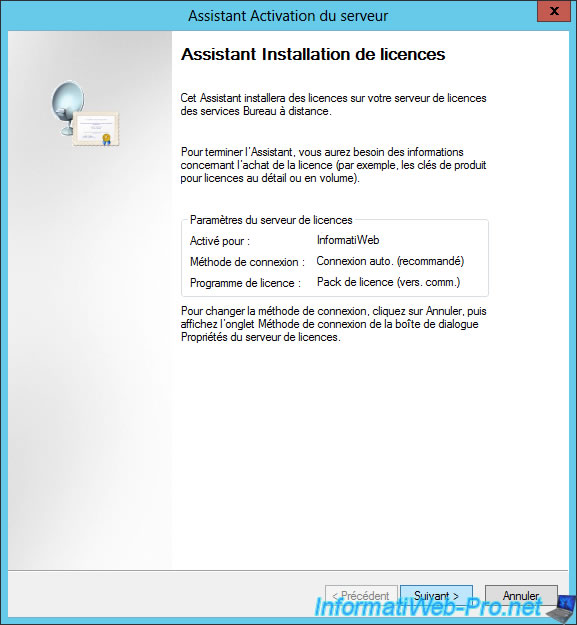
The Activate Server Wizard appears.
Note : this wizard can also be reopened from the license manager by right-clicking "Install licenses" on it.
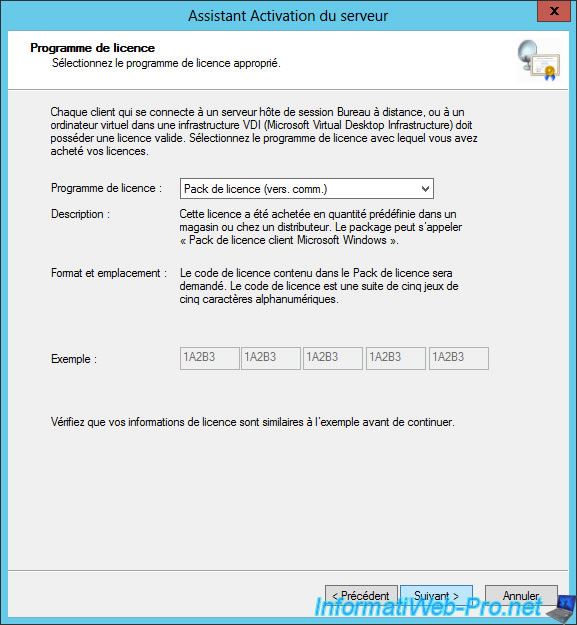
Choose the licenses's type you have purchased :
- License Pack (Retail Purchase)
- Open License
- Select License
- Enterprise Agreement
- Campus Contract
- School Agreement
- Service Provider License Agreement
- Other agreement
- Select Plus License
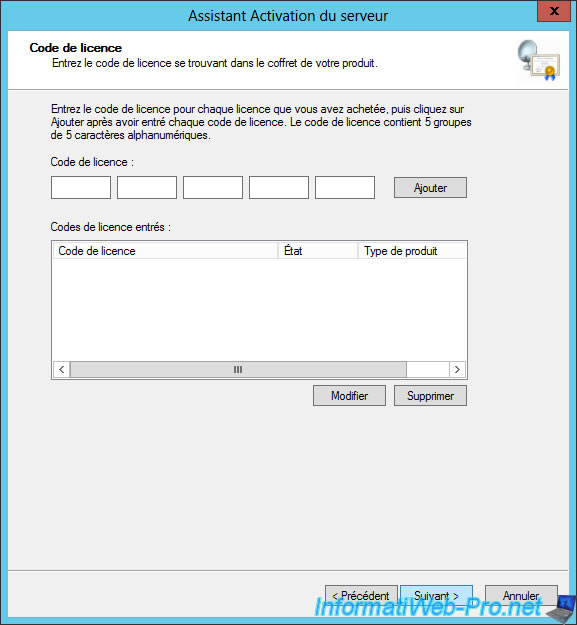
Add the different license codes you have.
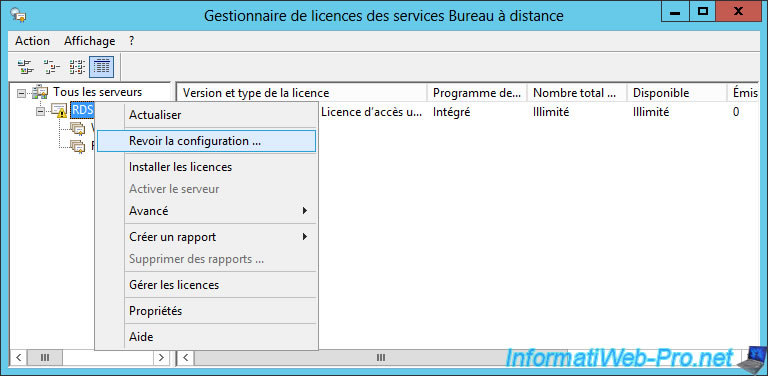
Once the CALs are added, right-click on your license server and click : Review Configuration.
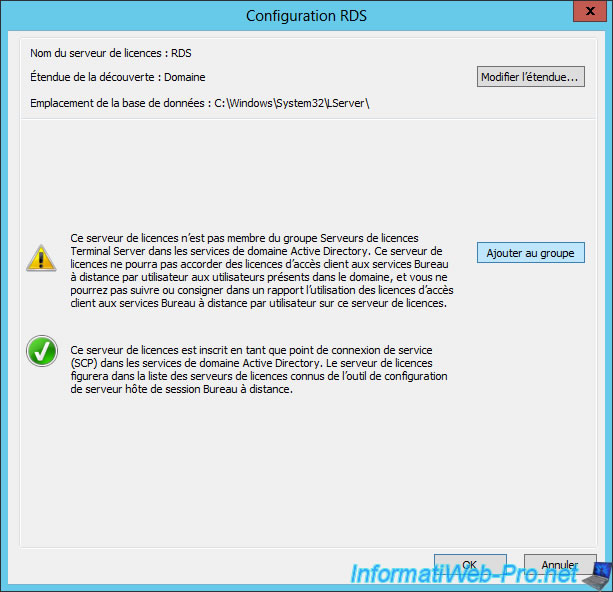
Click on "Add to group".
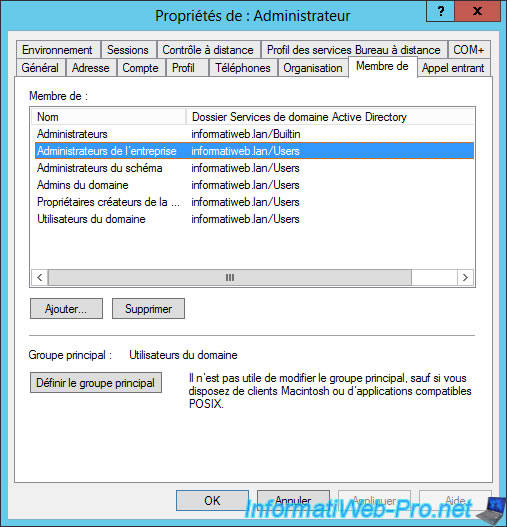
Note that you must be a member of the Enterprise Admins to perform this operation.
Click Continue.
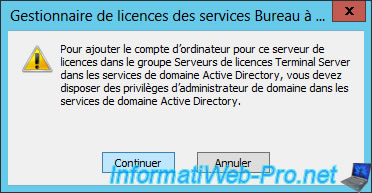
If all goes well, your license server will be added to the "Terminal Services License Servers" group.
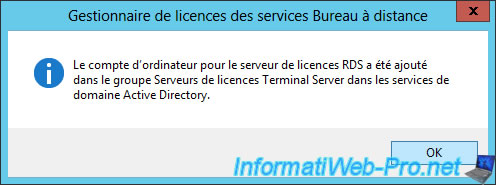
Now, icons are green.
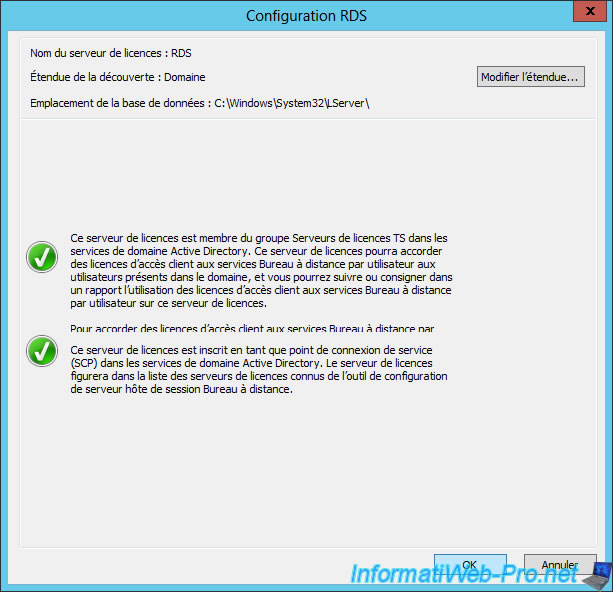
Now, your license server is configured.
On your Active Directory server, you can check this configuration through the "Active Directory Users and Computers" console.
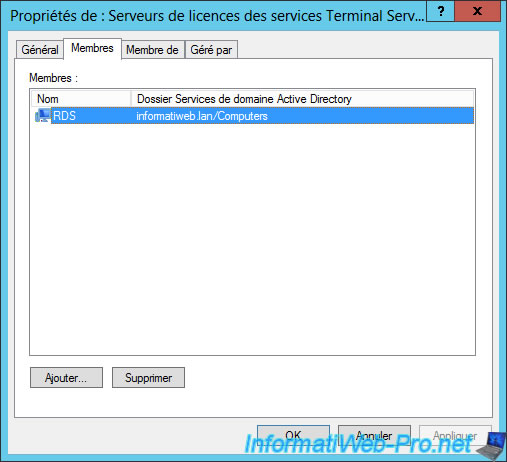
In the "Builtin" folder, double-click on the "Terminal Services License Servers" group.
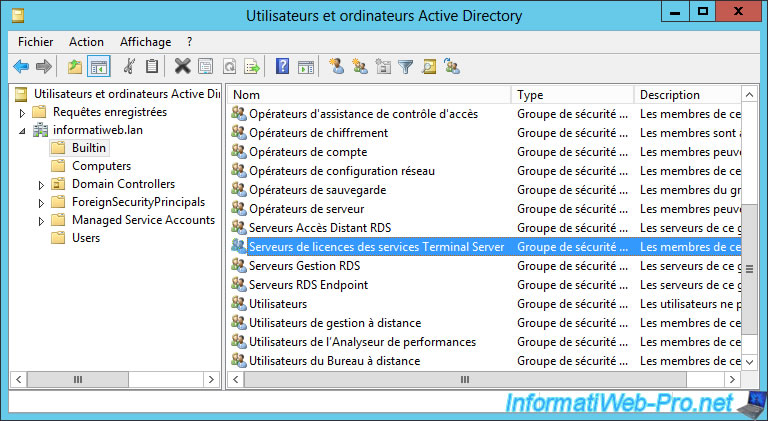
In this group, you will find your license server.
Share this tutorial
To see also
-
Windows Server 6/7/2019
WS 2012 / 2012 R2 - RDS - Set up HA on your RDS infrastructure
-
Windows Server 3/8/2019
WS 2012 / 2012 R2 / 2016 - RDS - Access RemoteApp via a modern application
-
Windows Server 4/28/2019
WS 2012 / 2012 R2 / 2016 - RDS - Attempt to unblock the session as a user
-
Windows Server 3/16/2019
WS 2012 / 2012 R2 / 2016 - RDS - Change the properties of RemoteApps

No comment