Publish RemoteApps (on a single server) on Windows Server 2012 using TSE
- Windows Server
- RDS
- 27 August 2014 at 09:26 UTC
-

- 3/3
7. Generate a certificate from your authority certification (if you choose to use our free solution)
Generally, to secure the connection to a server, you buy a certificate from a recognized authority. However, since the server will not be accessible from the Internet, you can afford to use a free alternative to implement this solution.
Because connections to Windows remote require a certificate signed by a trusted certification authority, we will create a certification authority and we will add the certificate to the trusted authorities in our server (and clients computers of the active Directory). Windows will consider the certificate used as valid and no warning will be displayed on our computers.
To create the root CA, refer to the tutorial "Windows Server 2012 - Create a Root CA Enterprise (Root CA)".
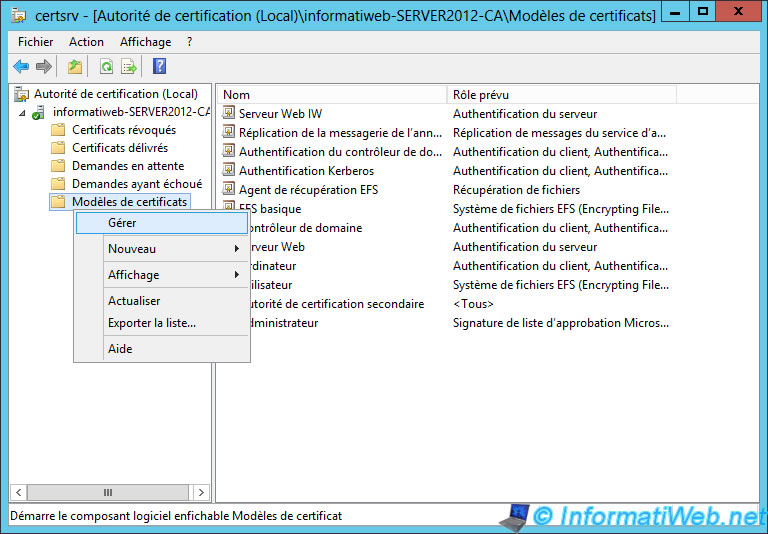
Then, run the "Certification Authority" program and go to "Certification Authority (Local) -> [name of your CA]" and right-click on "Certificate Templates". Then, click on "Manage".
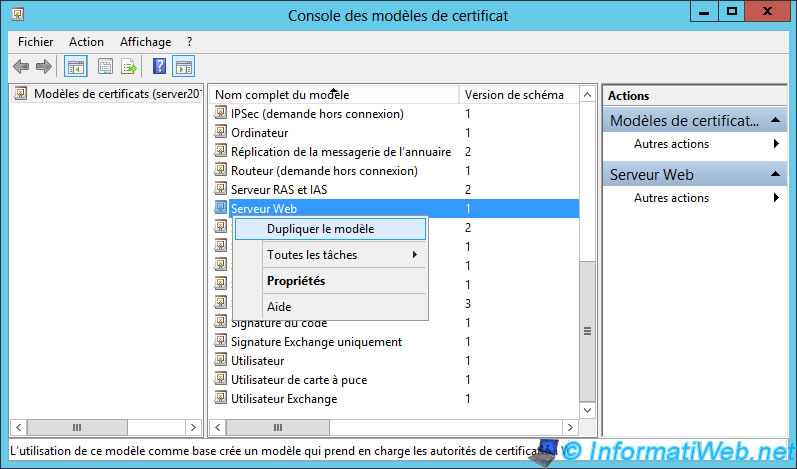
Duplicate the "Web server" model.
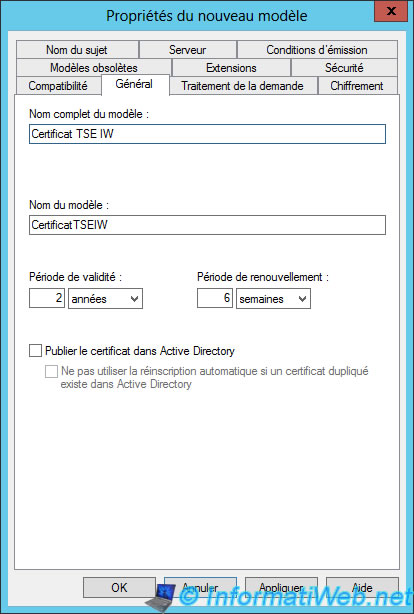
Name this new model : "Certificate TSE"
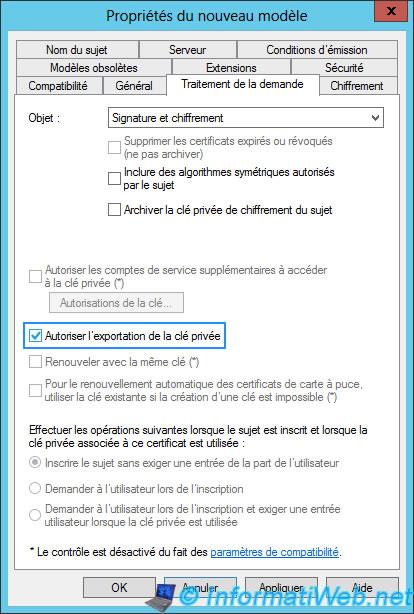
In the "Processing request" tab, check "Allow export of the private key."
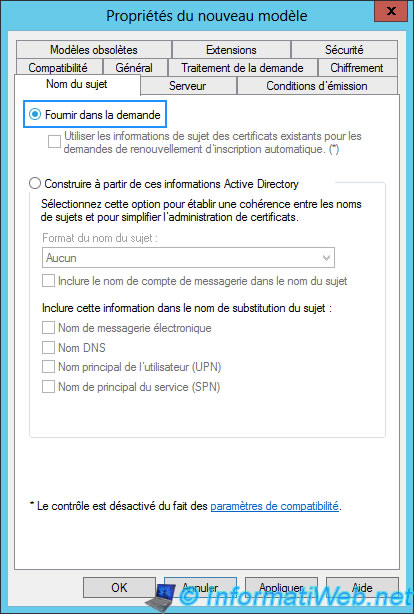
In the "Subject Name" tab, select "Supply in the request" so that we can specify the domain name that corresponds to the "Terminal Server" server.
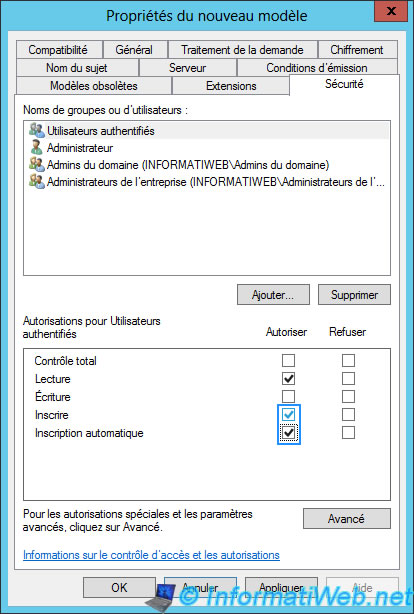
And finally, in the "Security" tab, change the permissions for authenticated users. Check the "Register" and "Automatic Registration" boxes.
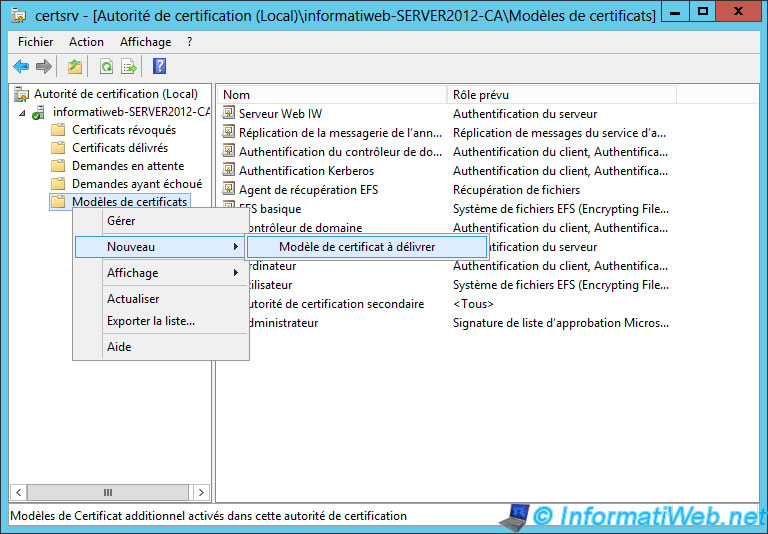
In the "Certification Authority" window, add the new certificate template you just created.
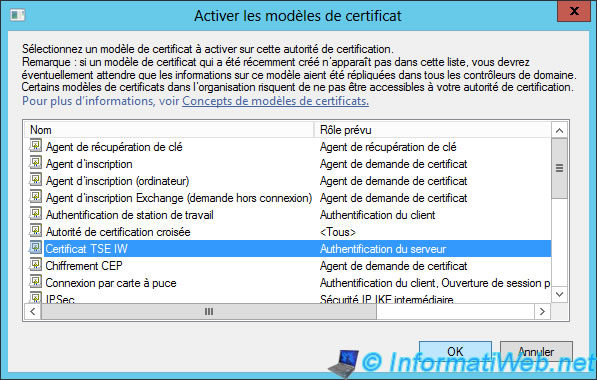
Select it.
Then :
- Use the shortcut "Management Certificates" saved on the desktop, if you followed our tutorial.
- Or run "mmc" program. Then, go to the menu "File -> Add / Remove Snap-in". Then, add the component "Certificates" : "A computer account" -> "Local computer ...".
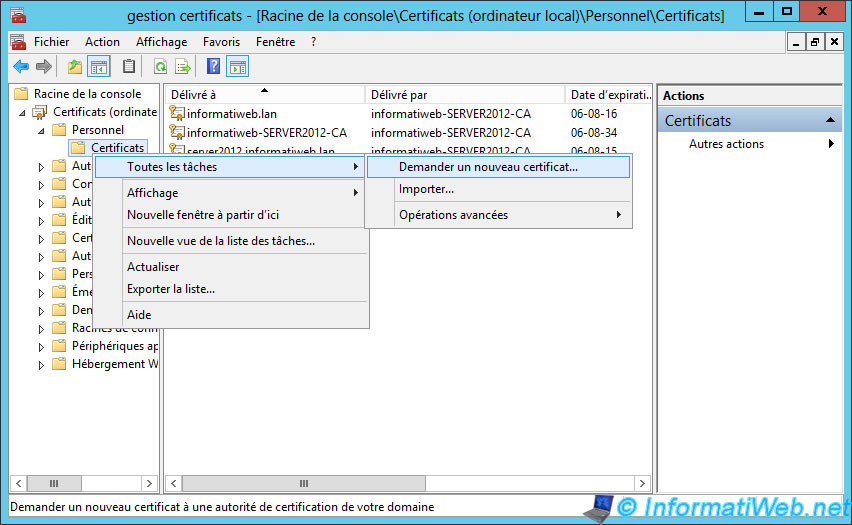
Once the console started and configured, go to "Personal -> Certificates" and right-click on "Certificates". Then, click on "All Tasks -> Request new certificate."
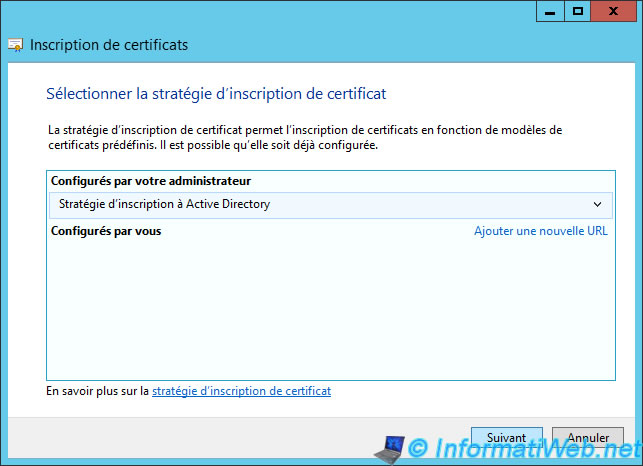
Skip this step.
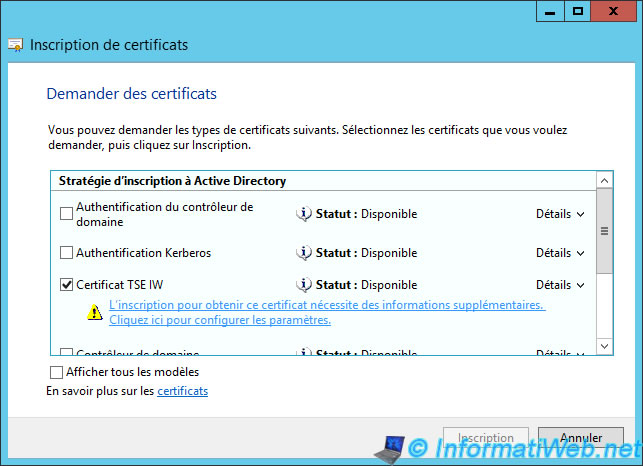
Select our new certificate template and click on the link provided.
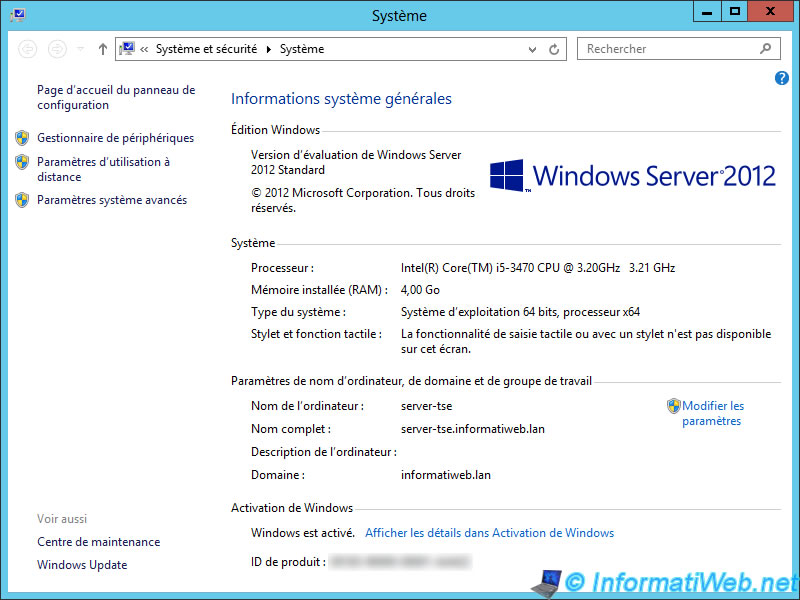
Open the system properties of the "Terminal Server" (RemoteApp) server by pressing the "Windows + X" keys and click "System".
The full name ([server name].domain.extension) should be indicated in common name.
Specify at least the common name (the full name of the server).
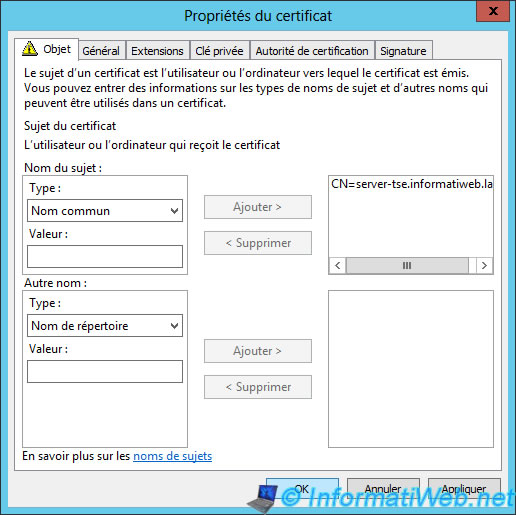
The blue link has disappeared.
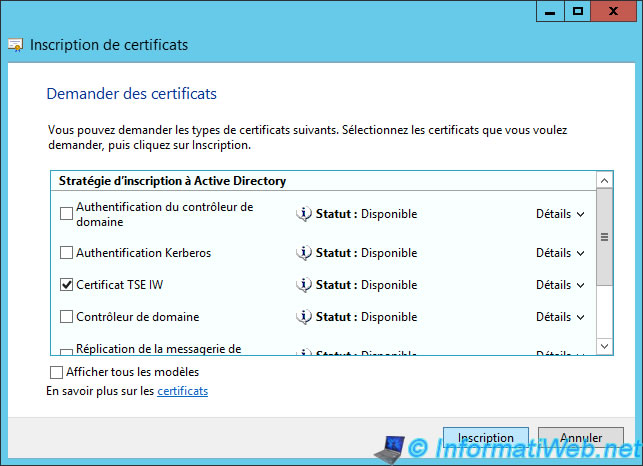
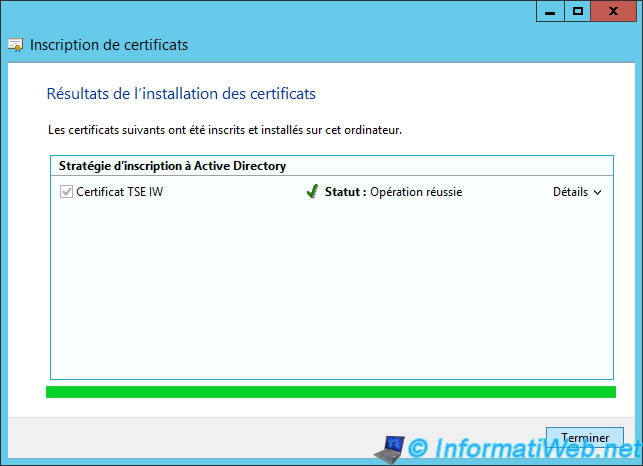
If all goes well, your certificate will be created.
8. Export the generated certificate (if you choose to use our free solution)
To secure our "Terminal Server" server (whether Web access, the Broker, ...), we're going to export the certificate we just created for import it to the concerned server.
To do this, go to "Personal -> Certificates" and export the certificate emit to "[name of the tse server].domain.extension".
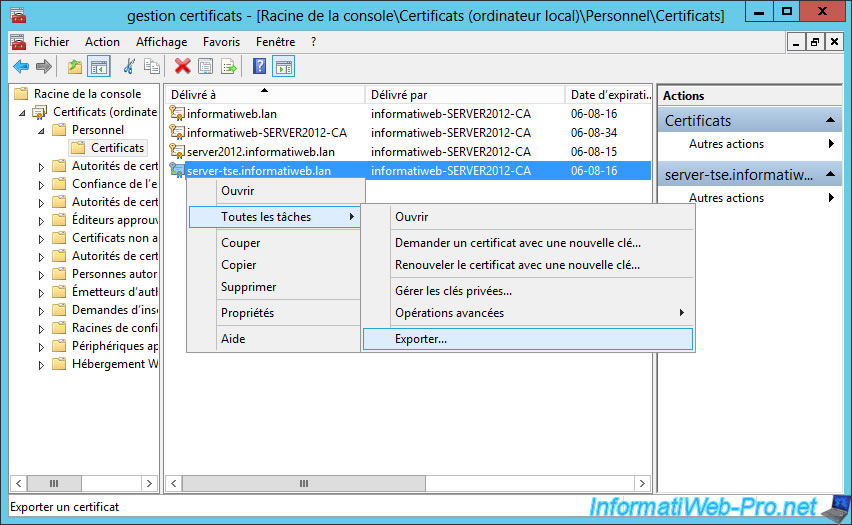
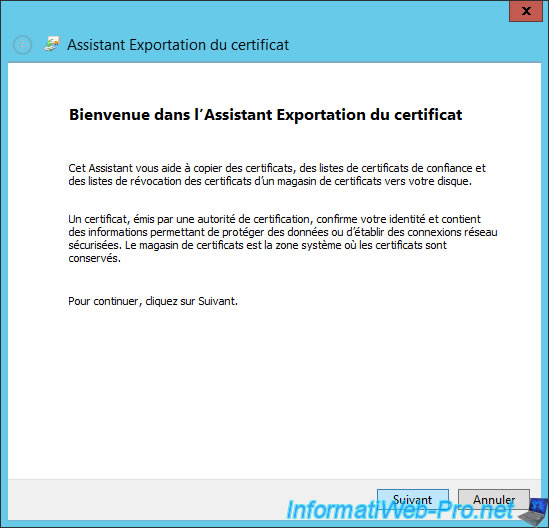
The Export Wizard appears.
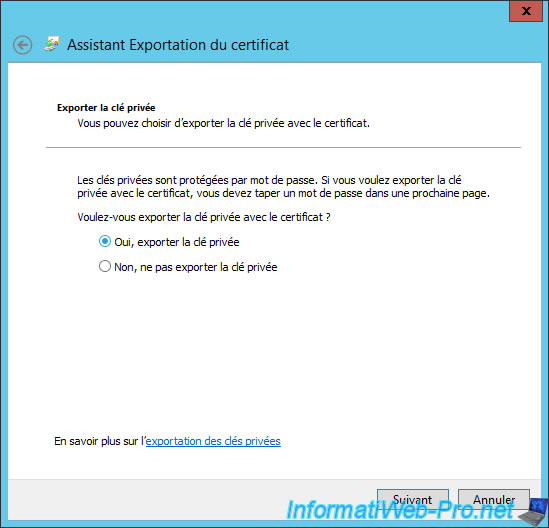
Select "Yes, export the private key".
Note : This will allow us to export the certificate in the pfx format (requested by the tse server).
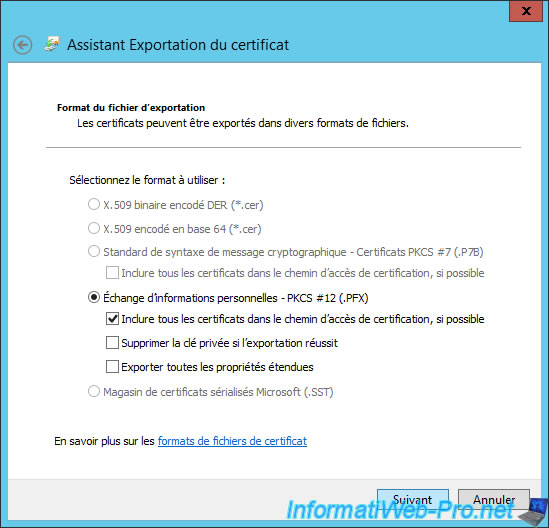
Leave these default options.
Note : The selected format must be ".pfx".
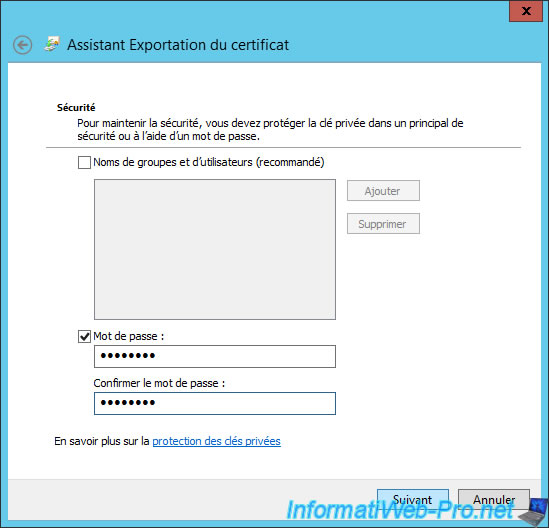
Specify a password to secure the private key exported with the certificate.
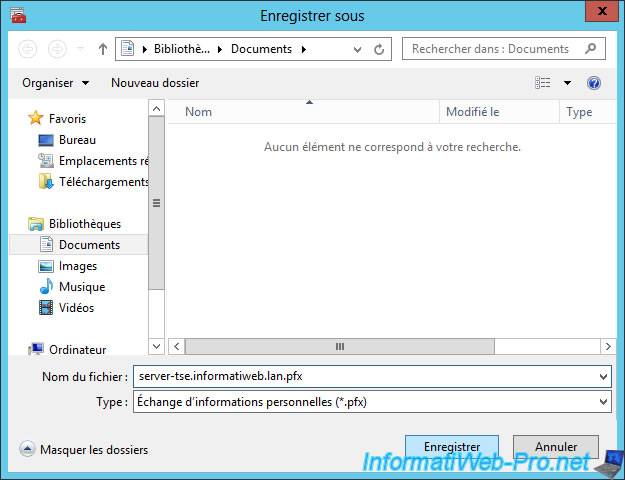
Save the certificate somewhere and copy this file on the tse server (the server concerned by the certificate).
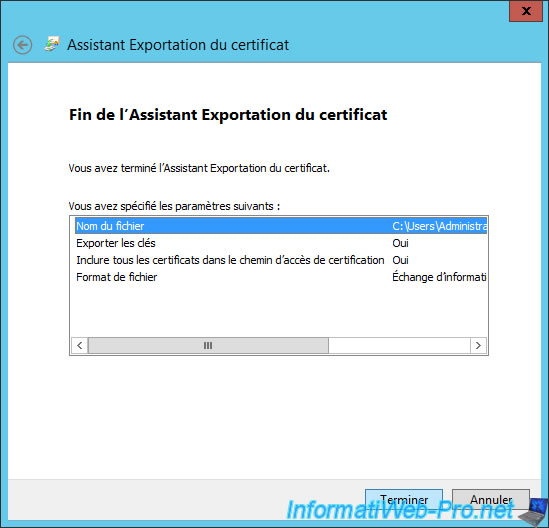
A summary is displayed.
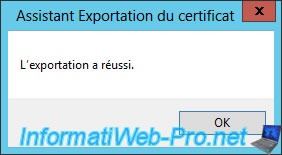
If all goes well, the certificate will be exported.
9. Import the certificate(s) on the server(s) used
Now that we have our certificate signed by a recognized authority, return to the "Terminal Server" server and go to "Remote Desktop Services -> Overview".
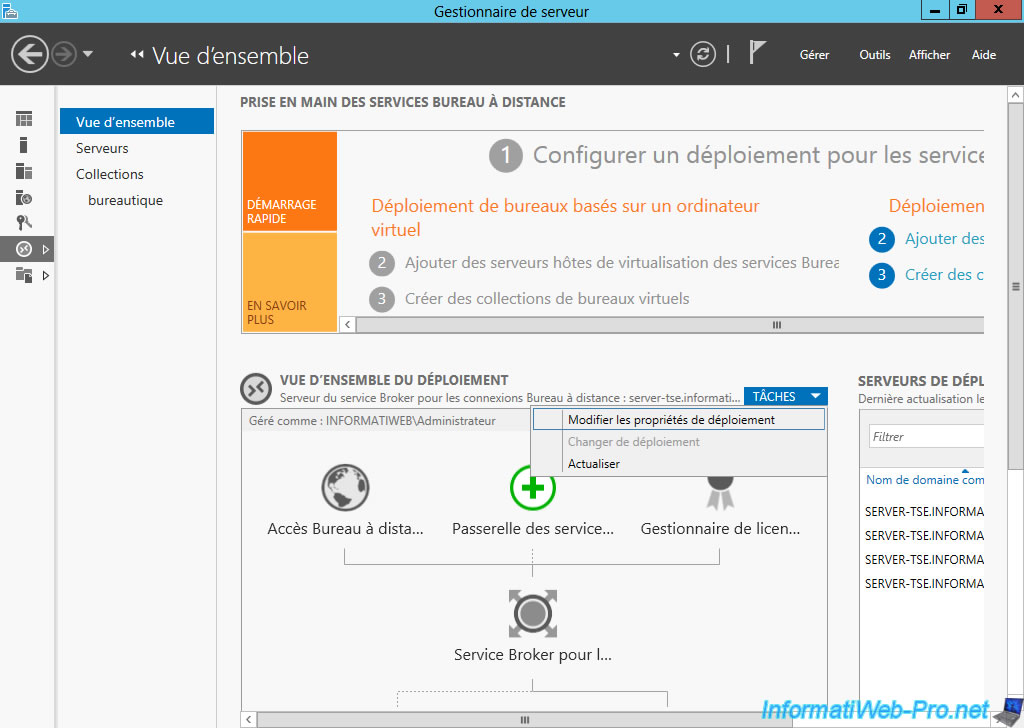
As you can see, the current level of certification of the deployment is "Not configured". In reality, the self-signed certificates were generated for the different services for this to work, however, this type of certificate causes safety warnings.
To import a certificate, select a service and click on "Select an existing certificate".
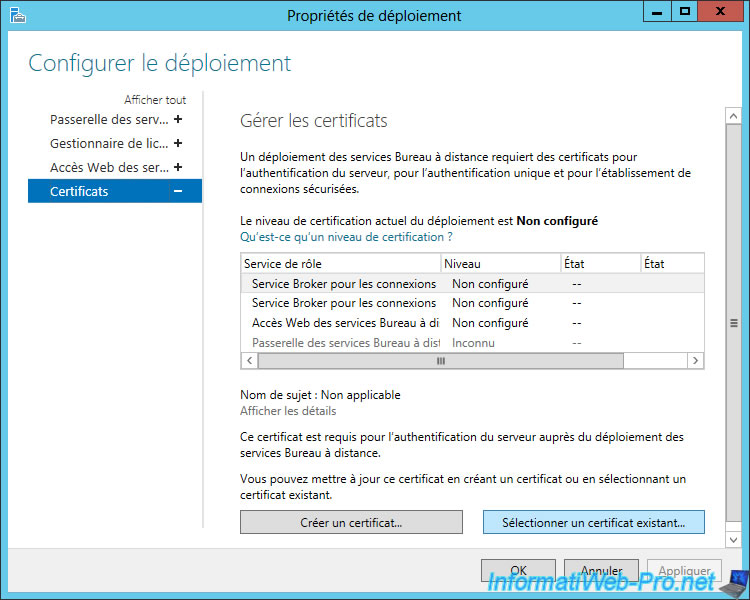
Select the certificate file that you have exported (in pfx format) and enter the password you provided to protect the private key.
Check the "Allow adding the certificate to the certificate store ..." to avoid future warnings.
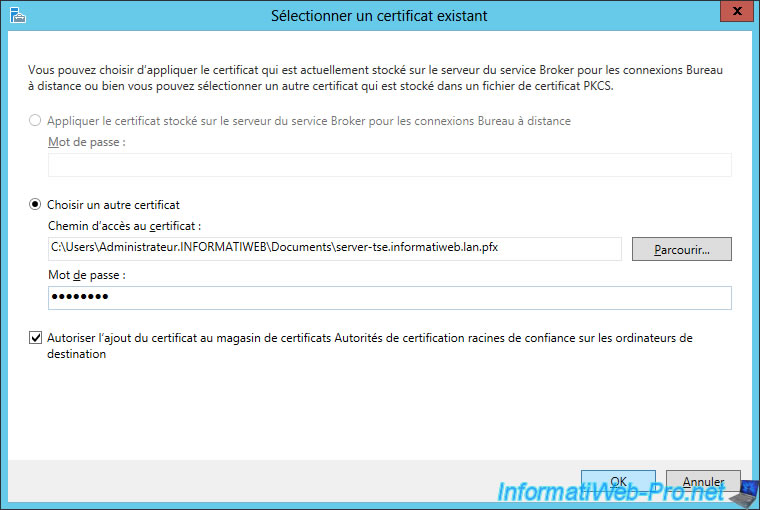
As indicated, a single certificate can be added at a time. To add others, click "Apply" and then follow the same procedure for the other services.
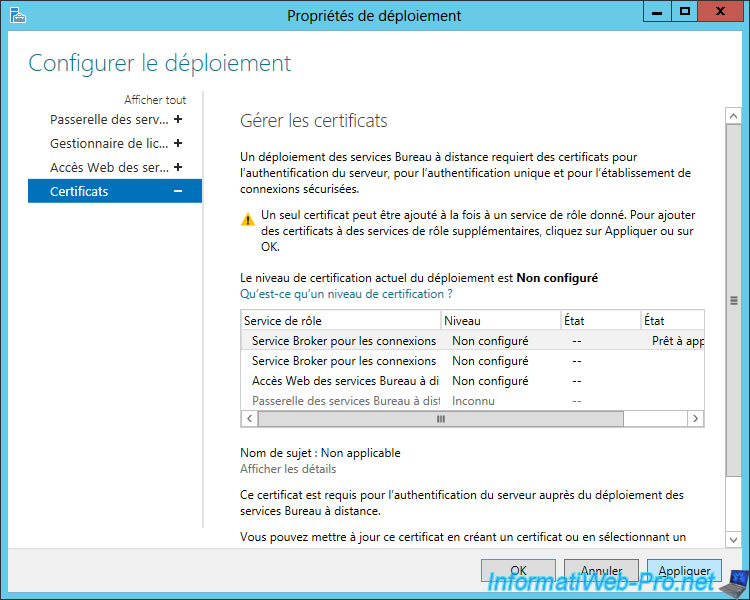
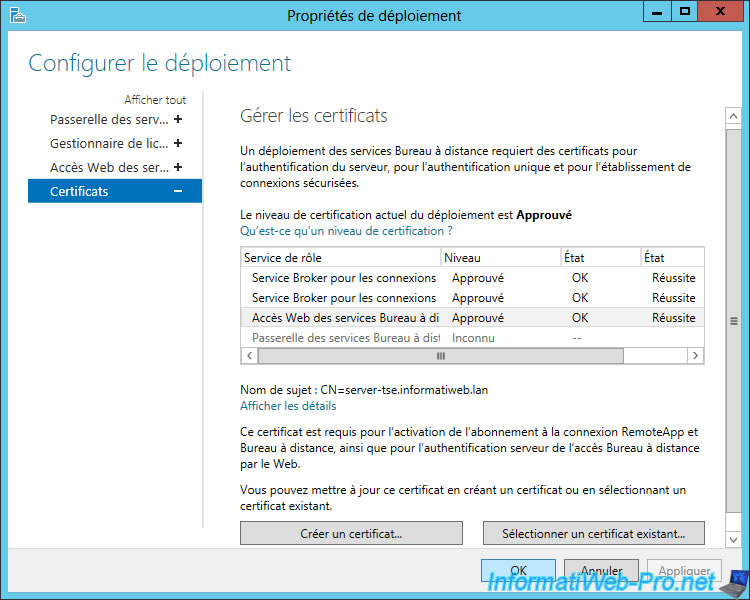
Once you import the certificate (or certificates if you use multiple servers) for different services, the warnings have disappeared.
Apparently the act of importing the certificate for the service "Web Access Remote Desktop", import this certificate for the default website of the IIS web server.
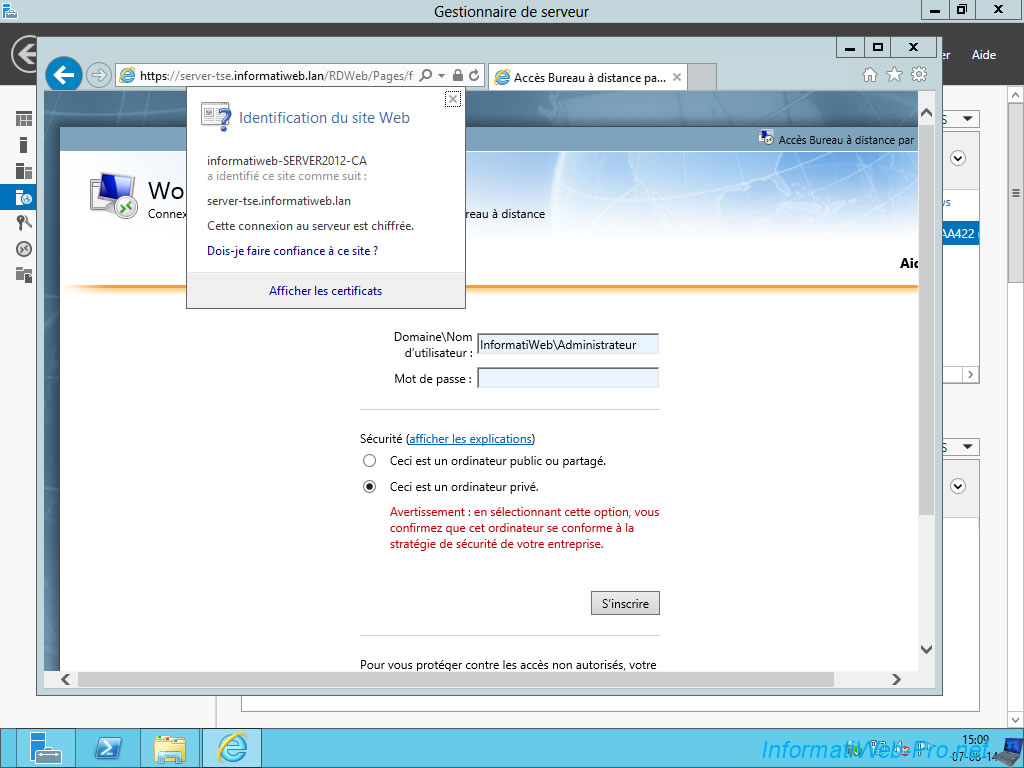
To test your certificate, go to the address "https://localhost/RDWeb" from the server or "https://[server_name].domain.extension/RDWeb".
If all goes well, the warning will have disappeared and when you click on the padlock, you will see that the certificate is valid for the site "[server name].domain.extension" and that it was signed by your certification authority (or authority where you bought your certificate).
10. Configuring Remote Connections in Windows (Work Resources)
Because our certificate was signed by a recognized certification authority, we will be able to configure remote connections to access the Windows RemoteApps without going through the web browser.
To do this, log in with a client computer of the Active Directory.
Note : If you have followed our tutorial on creating a certification authority, clients will receive by the Active Directory certificate of our certification authority. There will be no problem with our certificate.
Info : if you want to automatically configure the access to RemoteApp applications on all client PCs (Windows 7 and later), please refer to our tutorial : Windows Server 2012 - TSE - RemoteApp - Configure Windows 7 clients and later by GPO
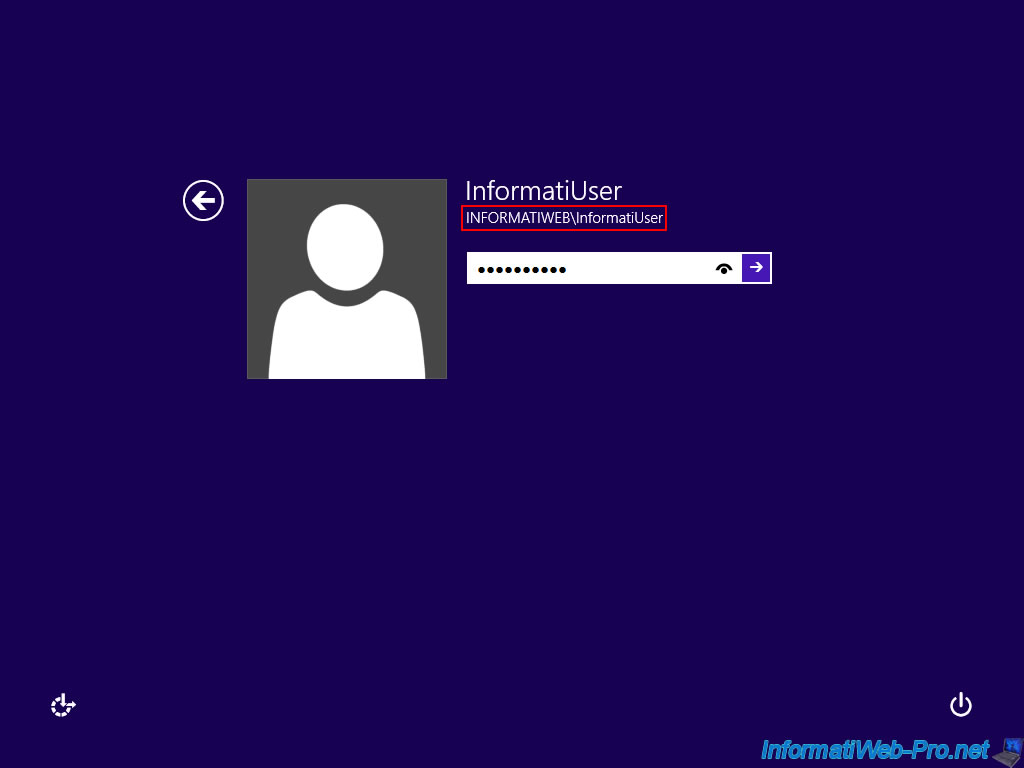
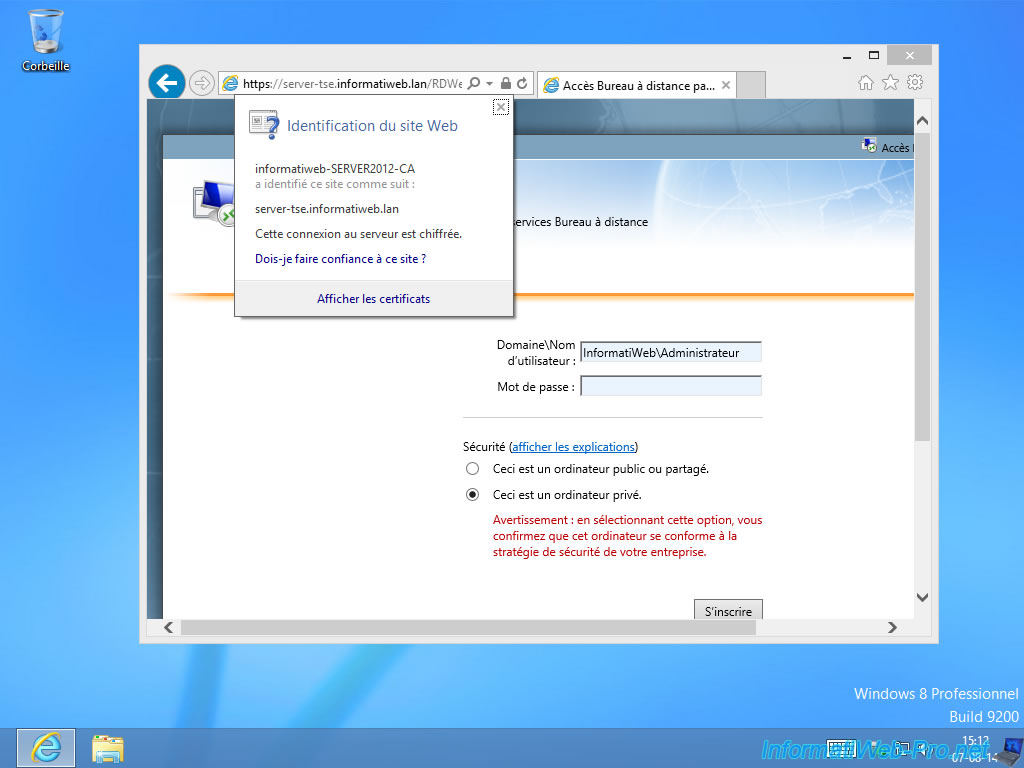
As a check, try to access the Remote Desktop access over the Web. If the certificate does not produce error, you can continue this tutorial.
Otherwise, either the certificate was not signed by a CA (found in the trusted authorities on Windows), or you forget to distribute the certificate of your authority through the Active Directory.
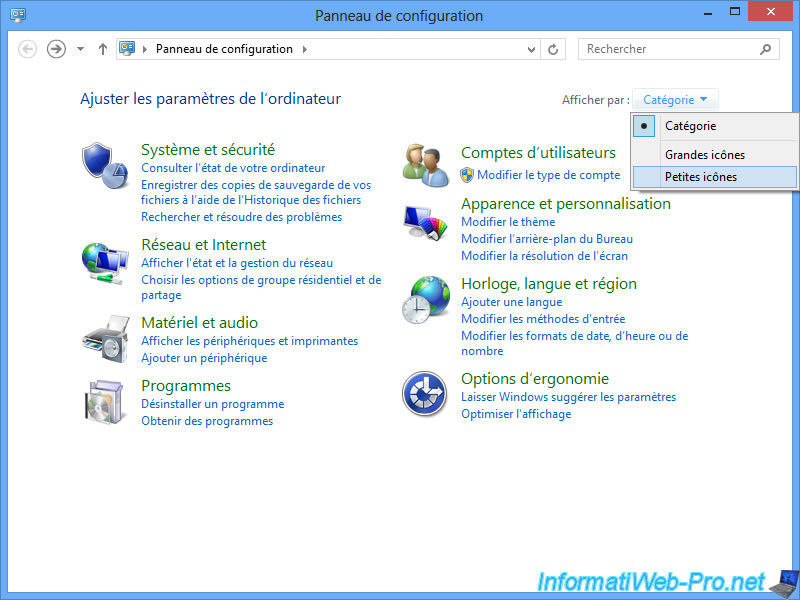
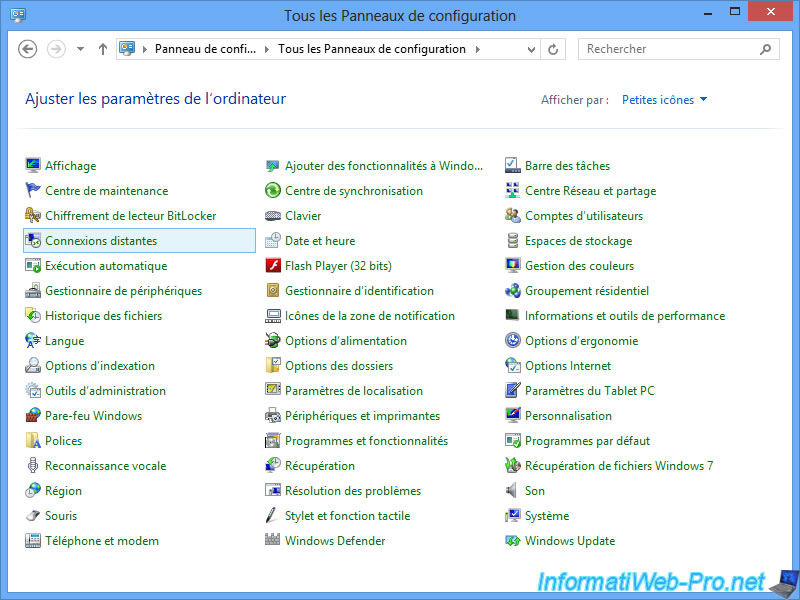
To access the remote connections in Windows, open the Control Panel and select "Small or large icons".
Click on "Remote Connections".
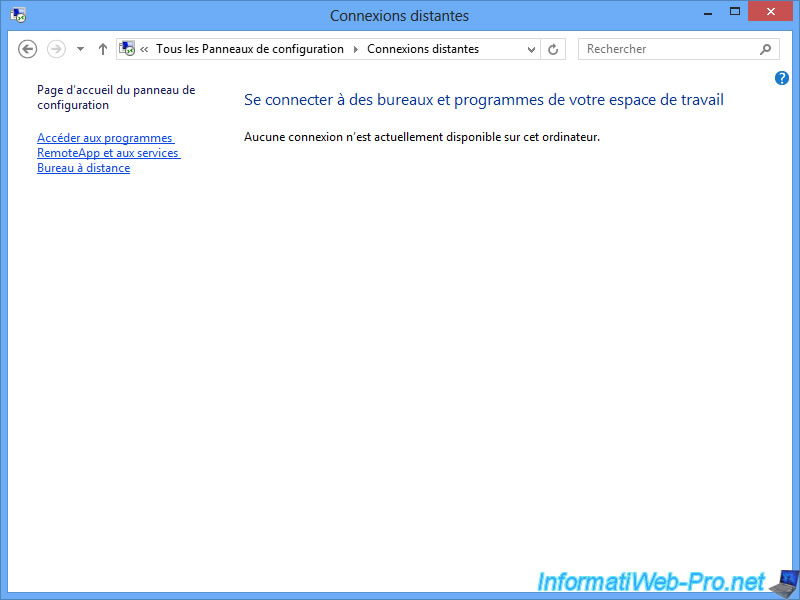
Click on "Access to RemoteApp and Remote Desktop Services".
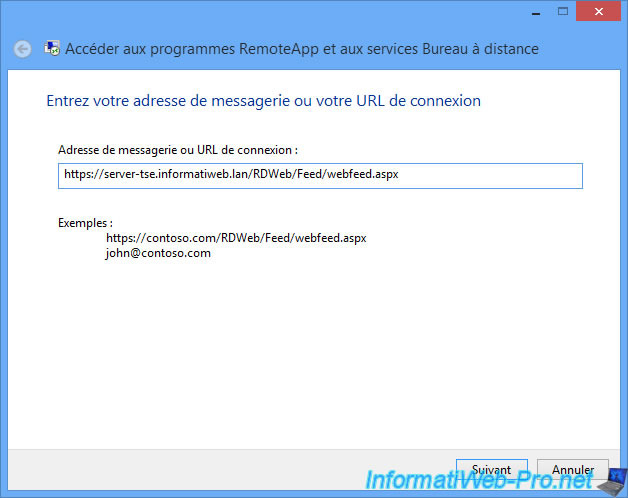
Enter the address, by replacing the "contoso.com" of the example, by the full name of your server ([server name].domain.extension).
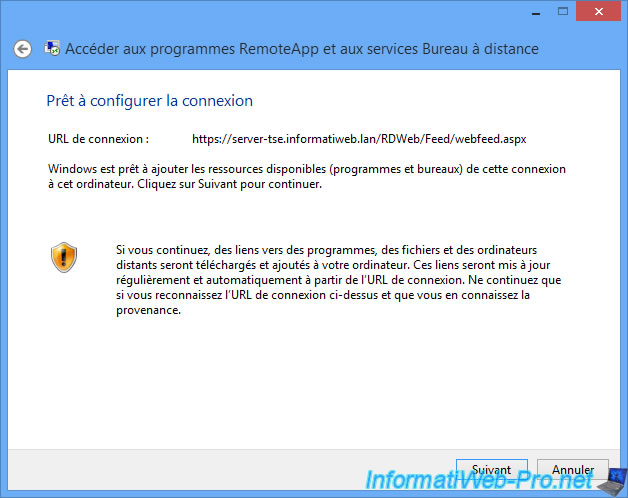
Ignore the warning, because we know the remote server and what is shared by the server.
Reminder : This function requires a valid certificate signed by a recognized authority by the computer used. The self-signed certificates are not allowed. By against, our free solution works fine.
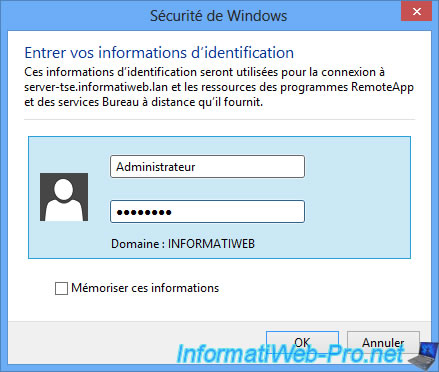
If all goes well, a login window will appear. Use an account from Active Directory (not necessarily the administrator account like the picture) to connect to the server.
The account used will determine which programs will be available. For example, the secretary would see the office programs while the web developer would see web development programs.
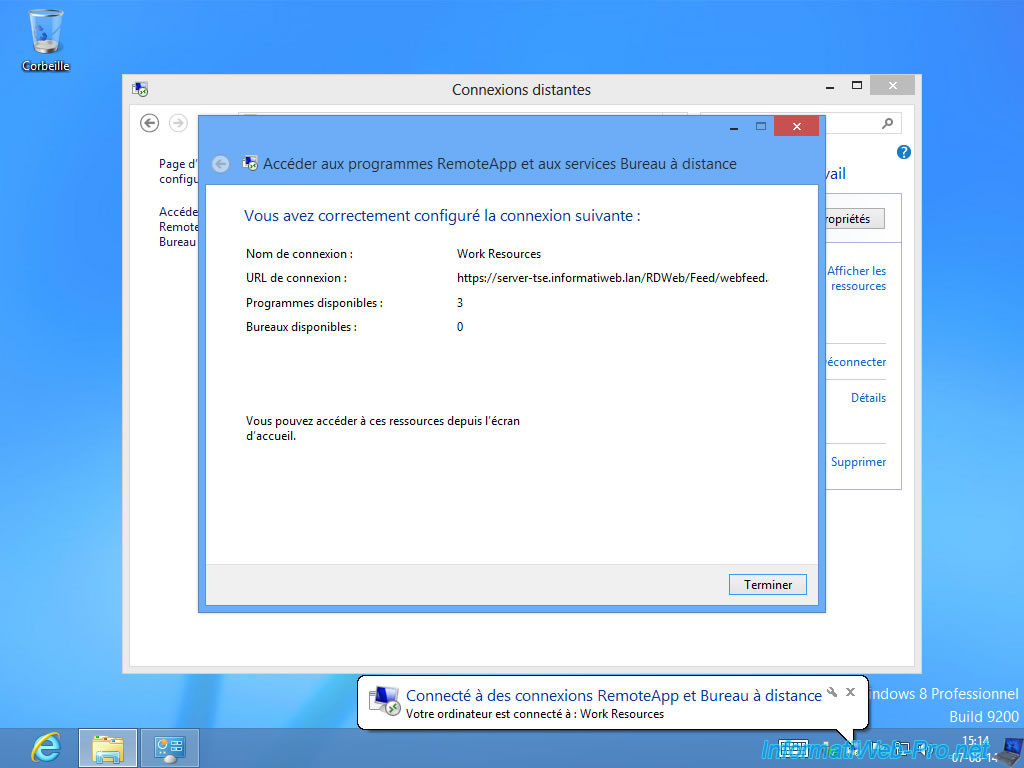
As you can see, the account used have access to 3 RemoteApp programs (in our case).
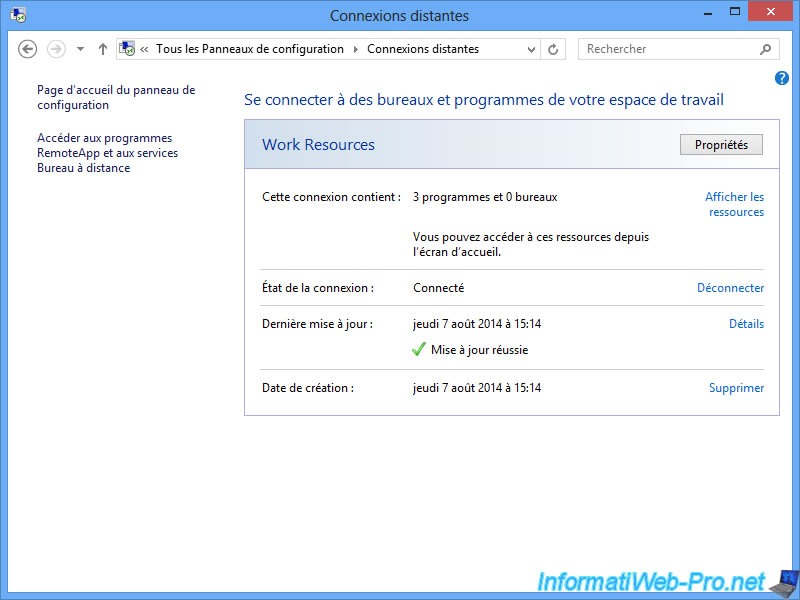
To access shortcuts of published programs, click on "View Resources".
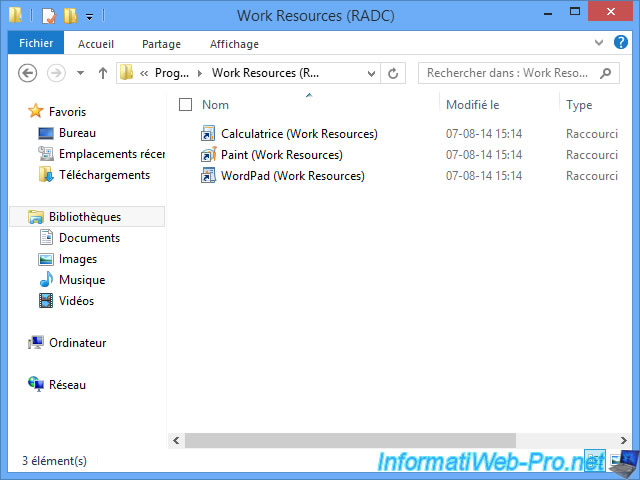
A folder appears with shortcuts. If you wish, you can copy these shortcuts on the desktop.
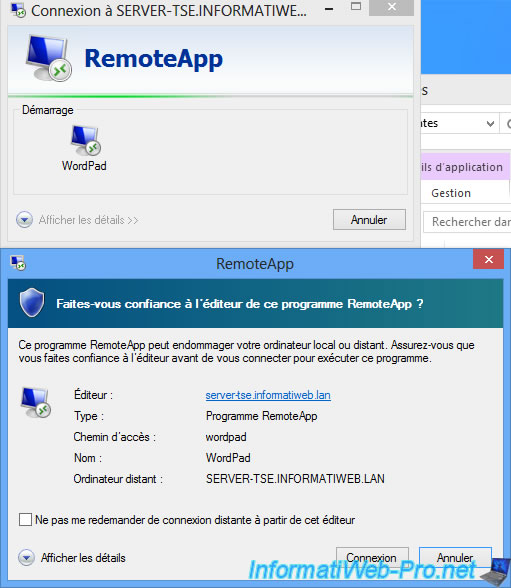
Because we use a valid certificate, the RemoteApp application displays a blue-green ribbon instead of the orange ribbon of earlier.
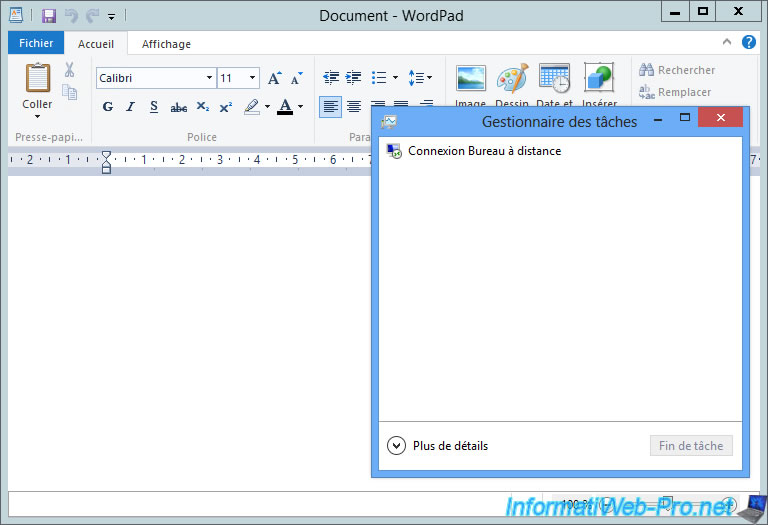
The RemoteApp program runs on the server and we see it on the client computer using the RDP client (Remote Desktop Connection).
Share this tutorial
To see also
-
Windows Server 1/4/2019
WS 2012 / 2012 R2 / 2016 - RDS - Deploy a RDS infrastructure (via the quick start)
-
Windows Server 1/18/2019
WS 2012 / 2012 R2 / 2016 - RDS - Publish RemoteApp programs
-

Windows Server 4/12/2019
WS 2012 / 2012 R2 / 2016 - RDS - Put your session host server into maintenance
-
Windows Server 5/3/2019
WS 2012 R2 / 2016 - RDS - Monitor or control the sessions of your users

No comment