- Linux
- Apache
- 08 September 2016 at 18:25 UTC
-

Over one year ago, we requested certificates on StartSSL. But, they have expired earlier this year.
So, we had to renew them.
For those who don't know StartSSL, it's a certification authority recognized by most operating systems (Windows, Linux, ...) and allows you to get free SSL certificates.
More info in our previous article : Secure your website for free with StartSSL
The StartSSL certification authority, which was managed by StartCom, closed on January 1, 2018.
1. Expiration notifications
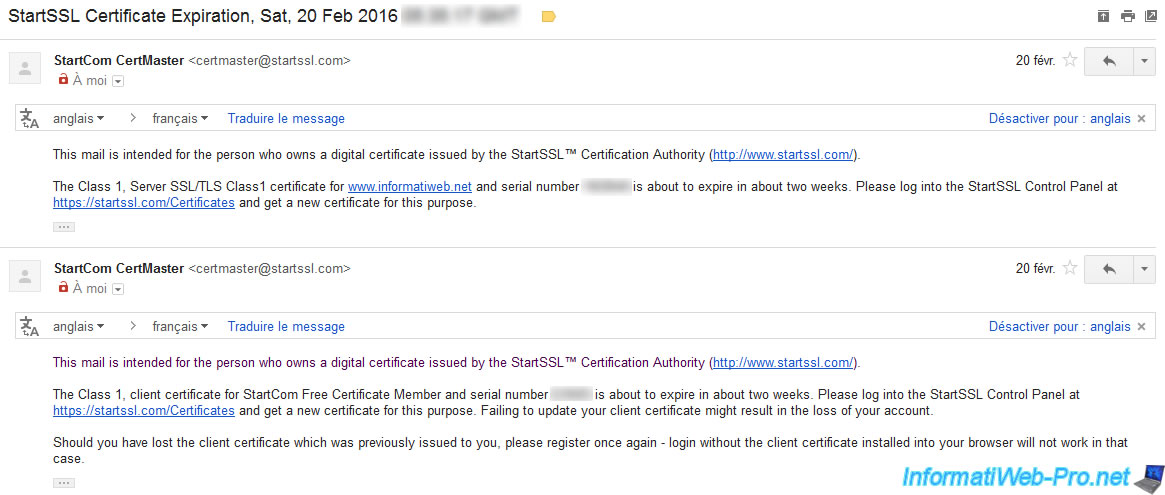
When your SSL certificates (client and web) will soon expire, you will receive an email from StartSSL that will notify you that remaining 2 weeks before their expirations.
2. Renew the client certificate
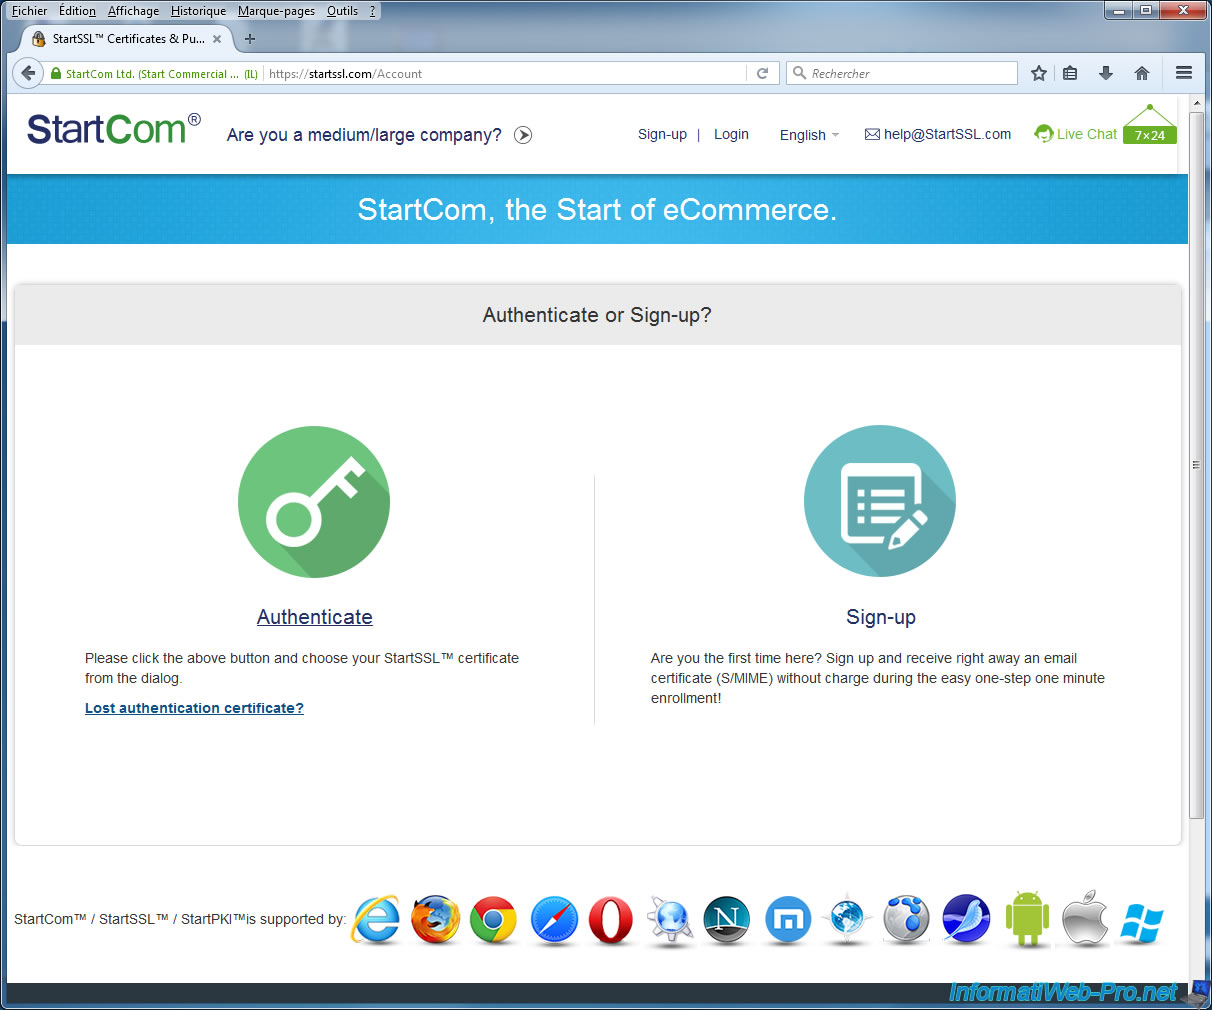
Log on StartSSL by using your client certificate downloaded one year ago (when registering on the site).
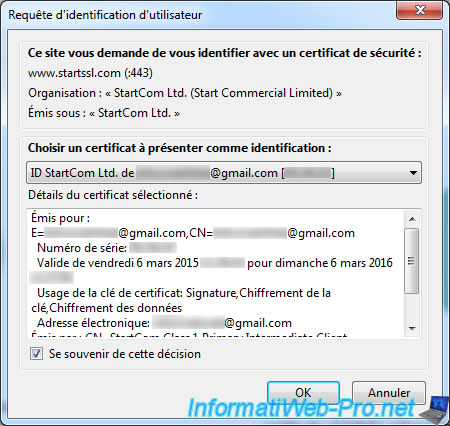
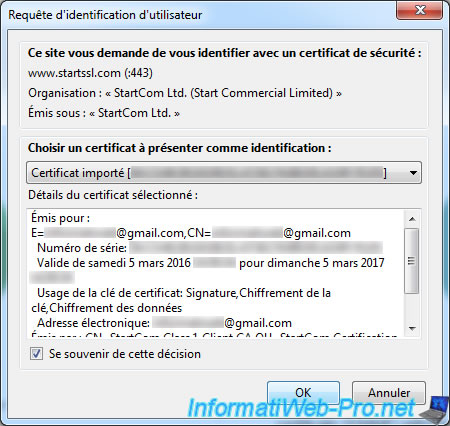
If the client SSL certificate provided by StartSSL is still in the certificate store of your web browser (or of your computer for IE), this window will appear.
Click OK to connect to the site.
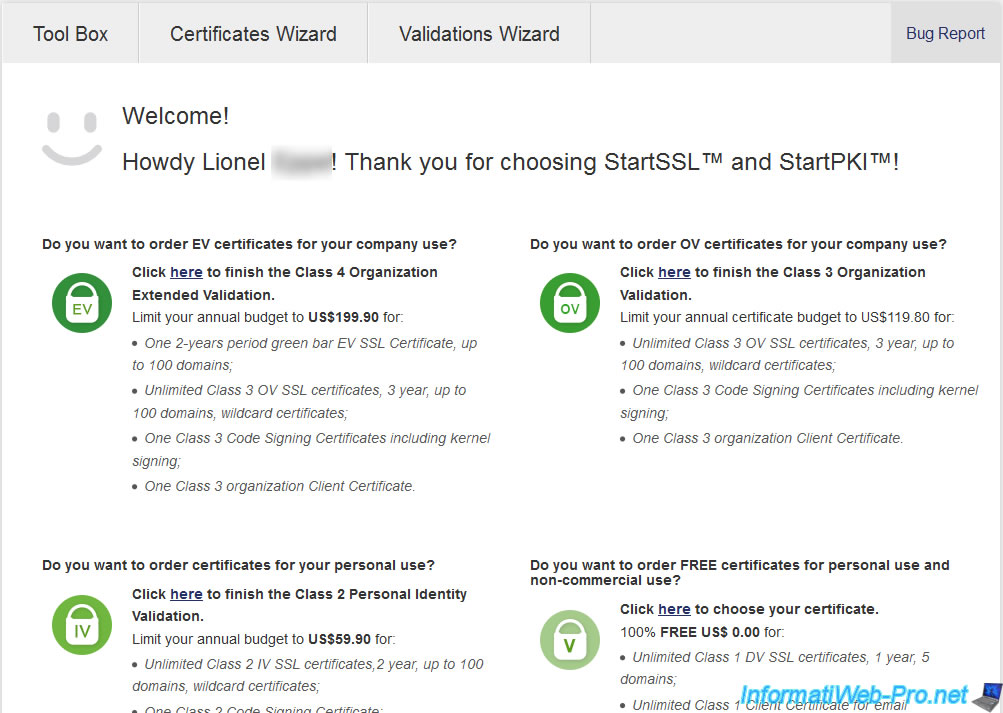
You arrive in your StartSSL account.
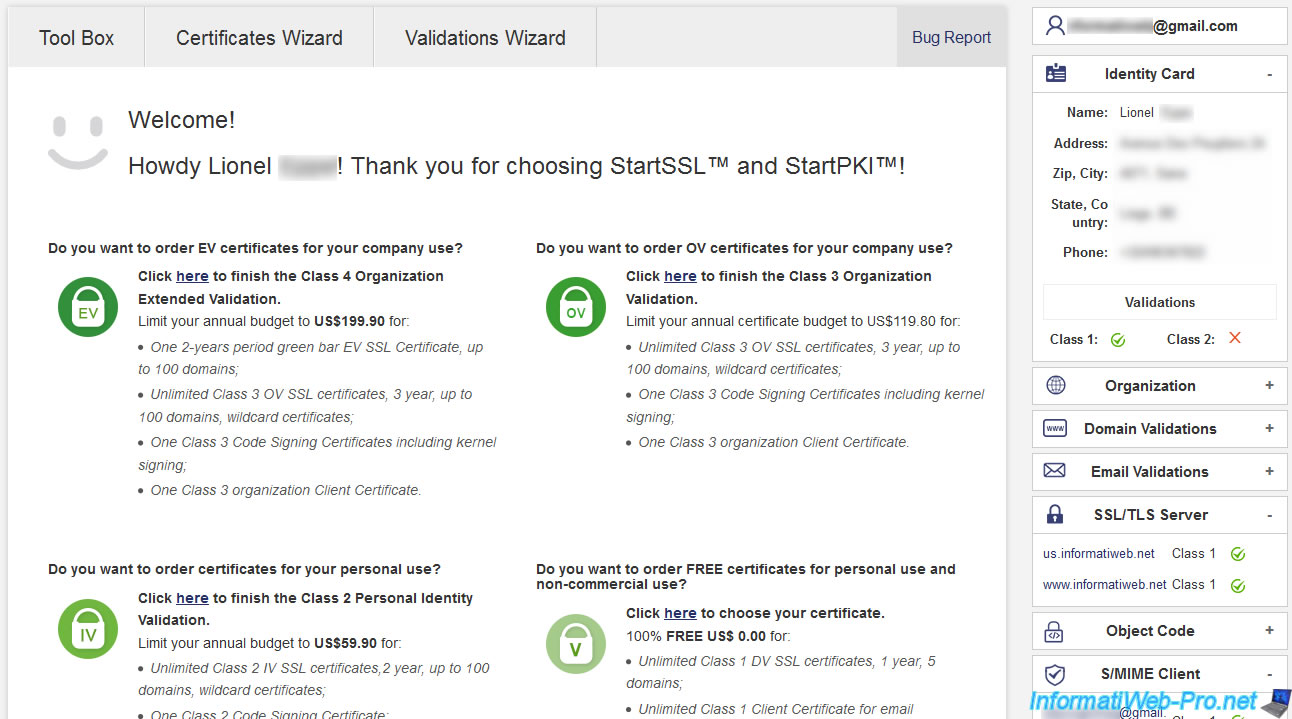
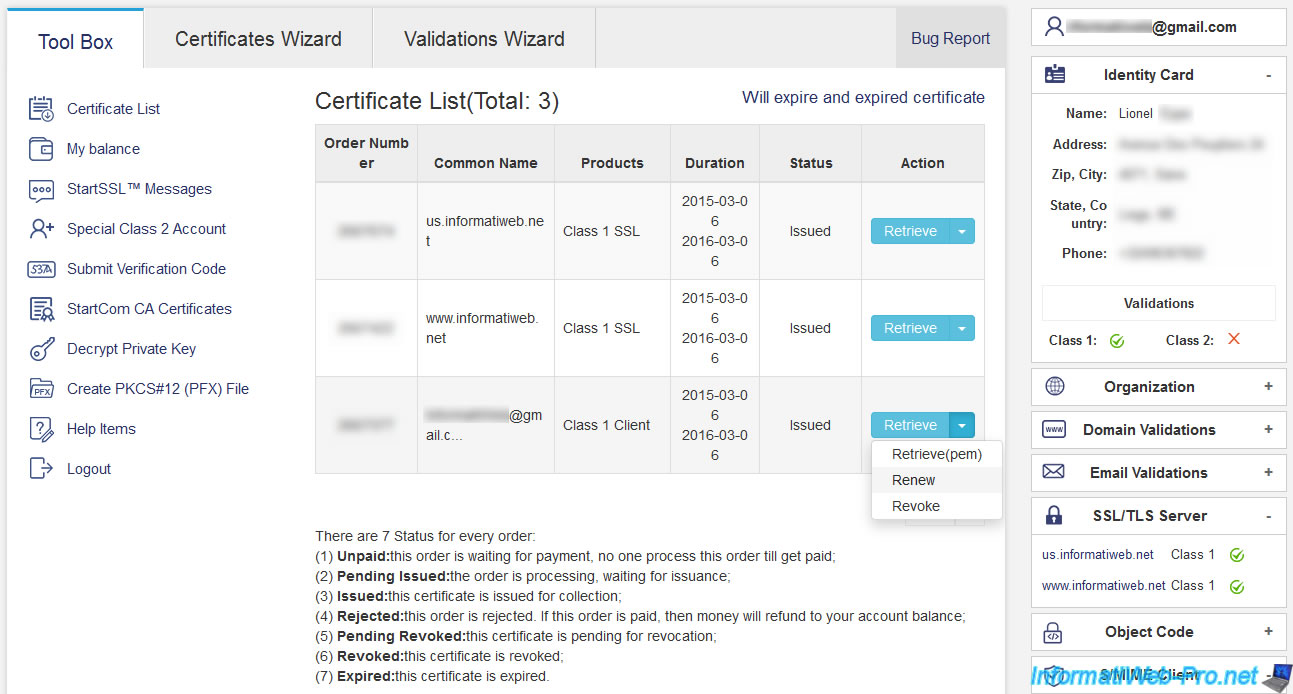
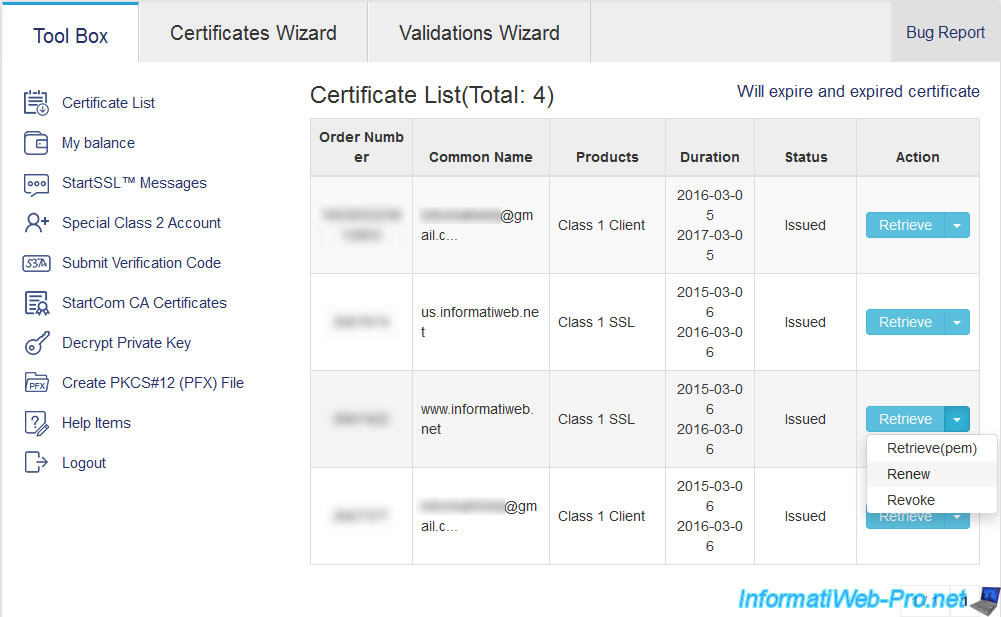
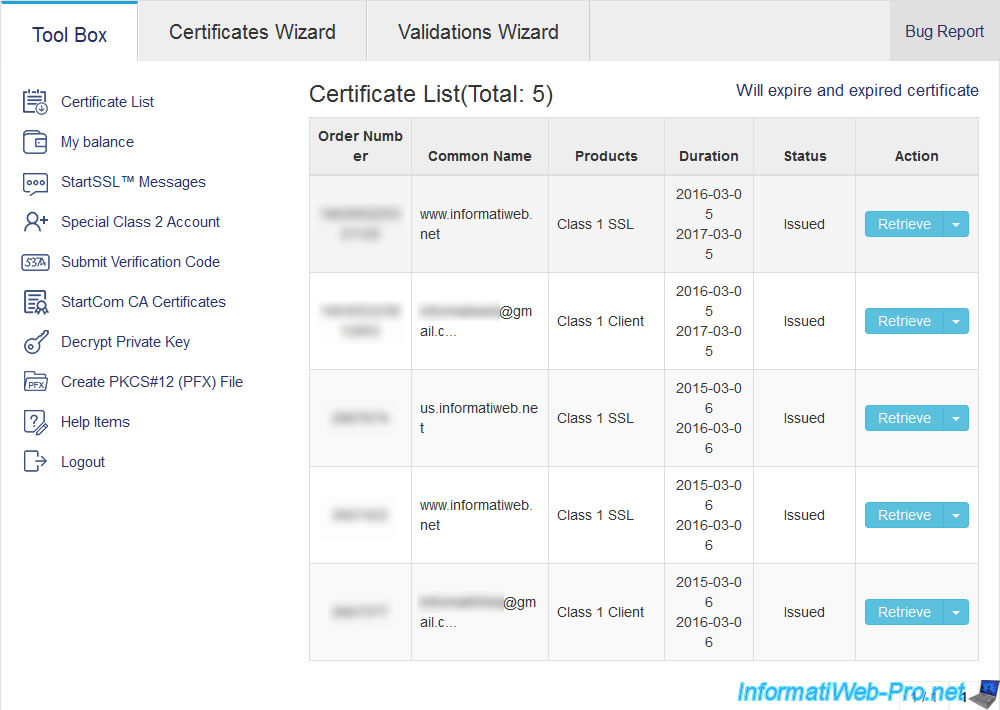
Go to the "Tool Box" tab where you will see the list of your certificates.
As you probably know, there are two types of certificates :
- the client certificate (Class 1 Client) : which allows you to login to your StartSSL account
- web certificates (Class 1 SSL) : which allow you to secure the connection to your website, your e-mail server, using SSL ...
To begin, we will renew our client certificate. Because without this certificate, you will no longer have access to your account StartSSL and you would have to register again (and therefore wait that the registrations are reopened because it's by period).
In short, on the right of your client certificate, click on the little blue arrow button and click Renew.
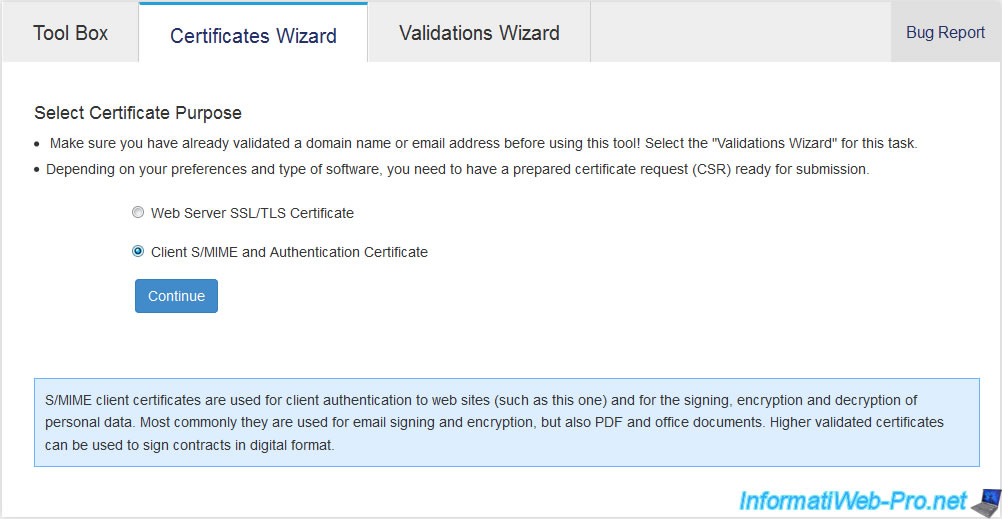
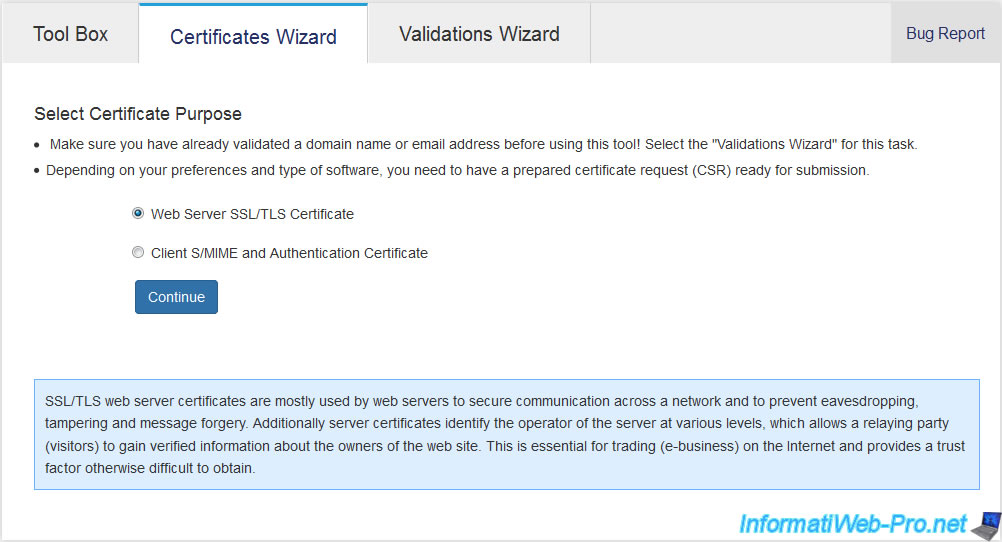
Select "Client S/MIME and Authentication Certificate".
Because it's been over a month since we validated our email address, this e-mail validation is no longer valid.
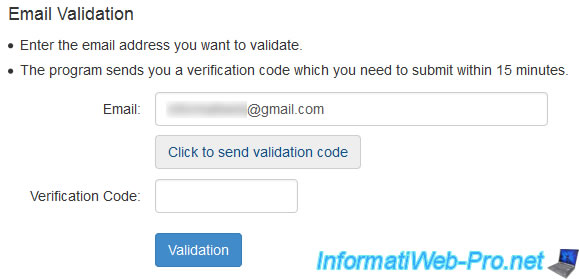
Nevertheless, just click on the link "Email Validation" to validate it again.

Enter your email address and click on "Click to send validation code".
Note : the code sent by email is only valid during 15 minutes.
You will receive a verification code to your email address.
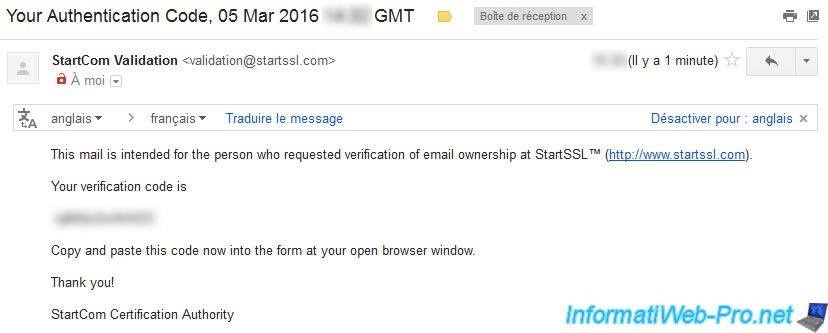
Enter the code and click on "Validation".
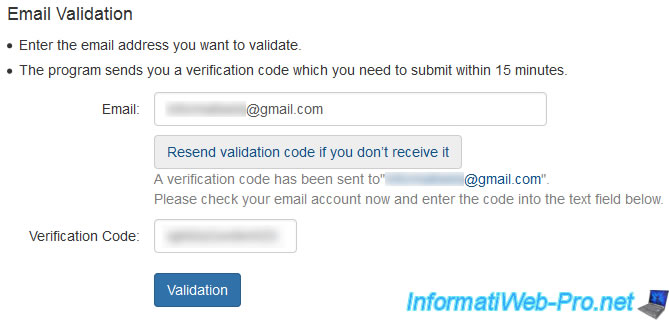
Your email address has been validated.
This validation is valid during 30 days.
Click on : To "Order Client Certificate".

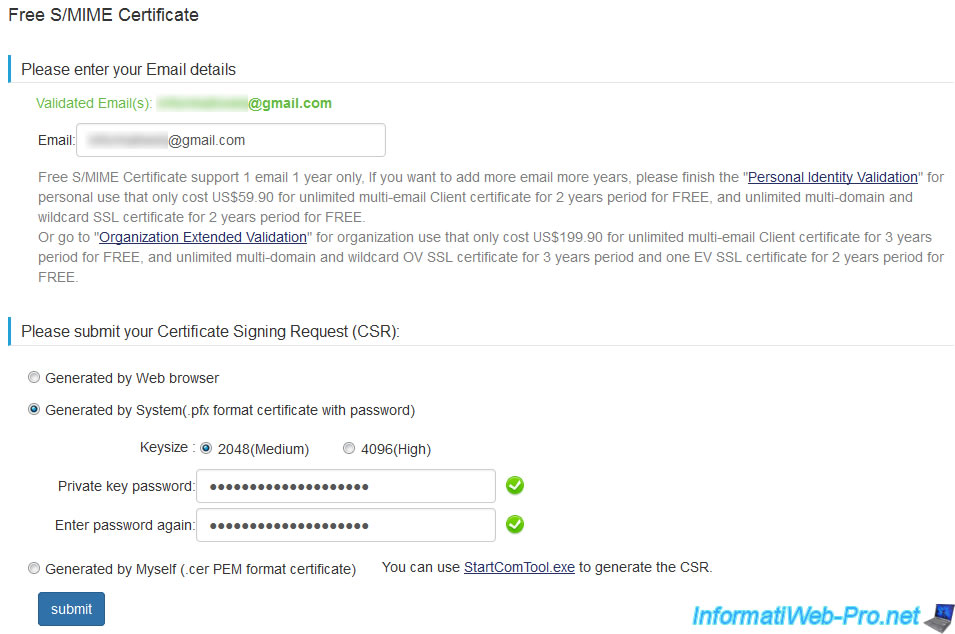
Enter the email address that you just validate in the box.
Then, select "Generated by System ..."and enter a password to protect the private key of your client certificate.
Then, click on "submit".
StartSSL shows you the private key in PEM format.
Click "Download Private Key" and keep this file in a safe place.
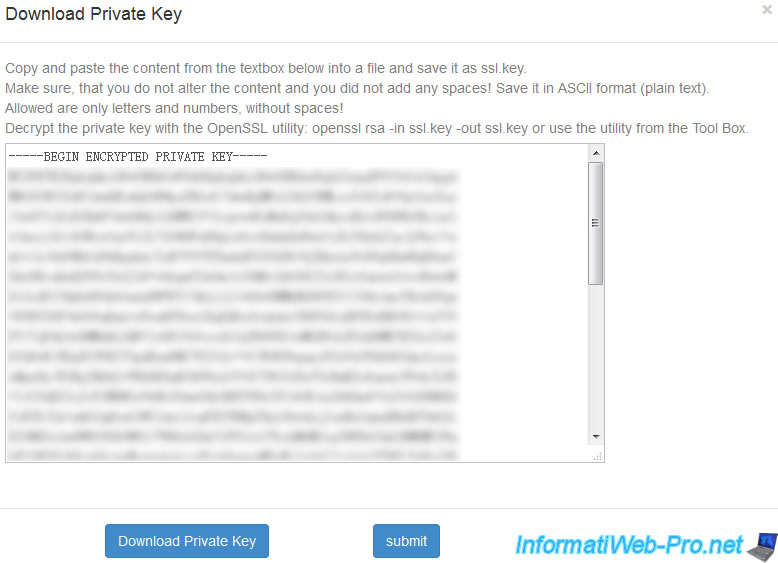
If you downloaded your private key, then click OK.

Your client certificate was issued (created).
Click the "here" link to download your certificate.
Then, click on the button : Certificate List.

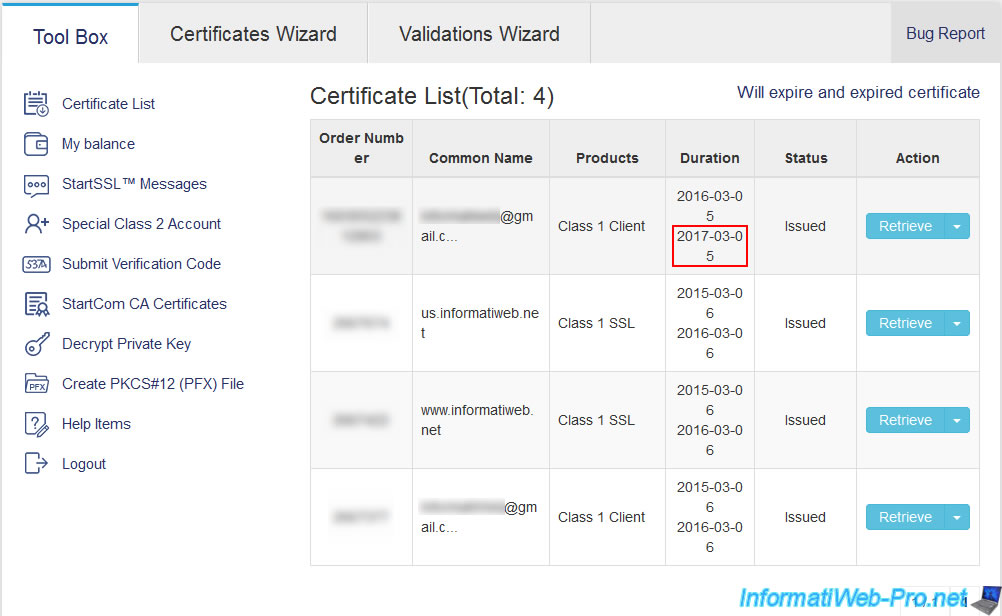
Now, you have a new "Class 1 Client" certificate in the list that expires in 1 year.
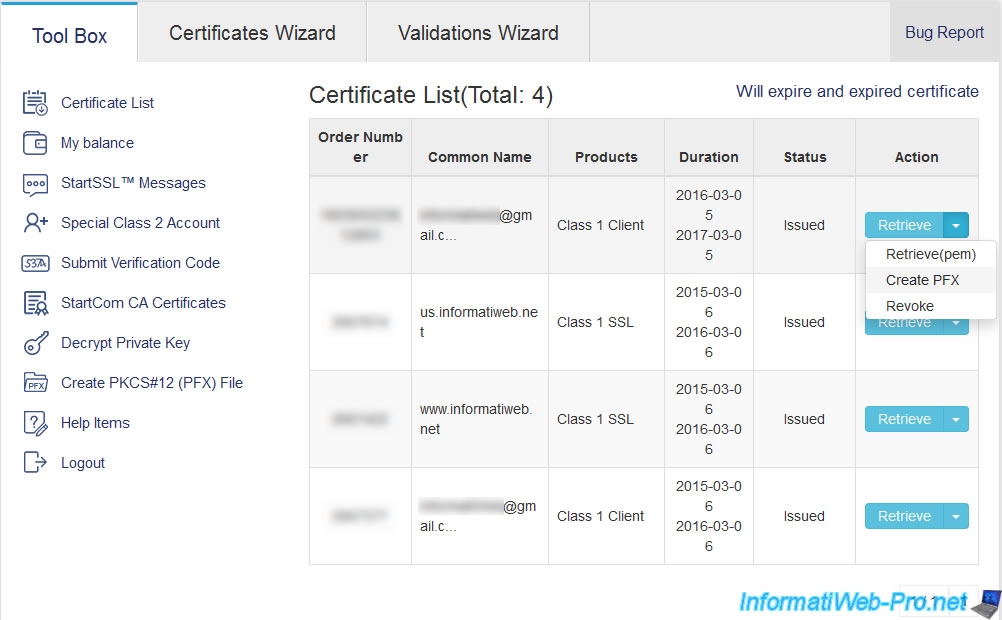
In order to sign in to your StartSSL account with this new client certificate, you need a file in PFX format.
To do this, click on the small blue arrow of the button and click "Create PFX".
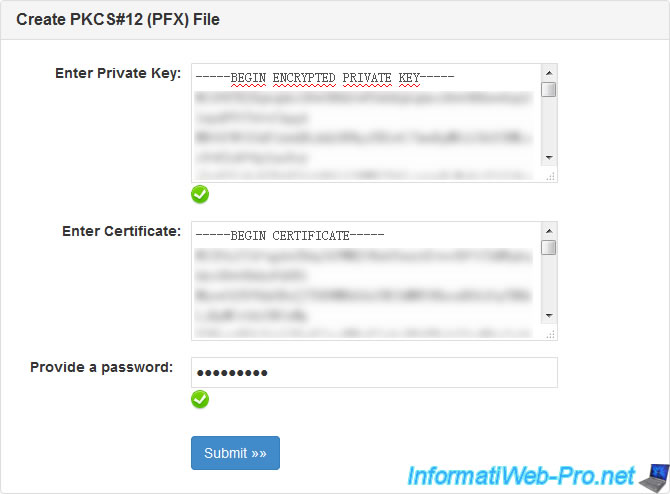
Note : you can also go through the "Create PKCS#12 (PFX) File" in the left menu, but through the blue button, you will have already filled boxes.
Paste your private key and the contents of the certificate file in the boxes provided for this purpose and specify a password to protect the PFX file.
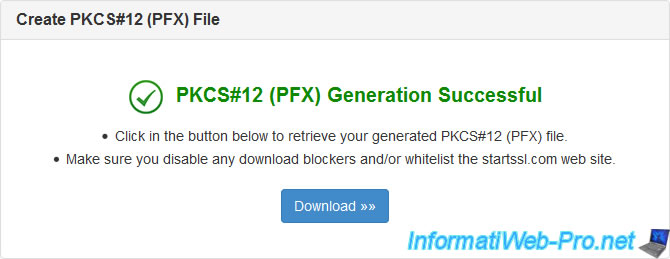
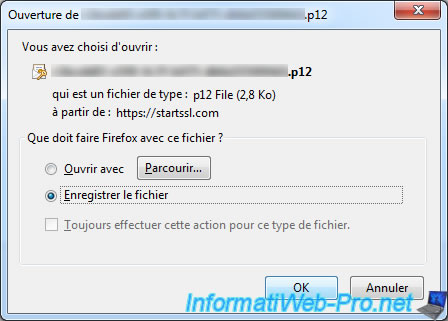
Click the "Download" button to download the PFX file.
Note : the format of p12 and pfx files is identical.
Finally, import the new certificate into your browser.
To do this in Mozilla Firefox, go to the menu icon -> Options -> Advanced -> Certificates -> View Certificates -> Tab : your certificates.
Then, when you try to log on the StartSSL website, the "User Identification Request" window will be displayed.
As you can see, the new certificate will expire in March 2017, while the old certificate expired in March 2016.
You still have access to your account, but with the new certificate.
3. Renew the certificate for your web server
For that, go to the Tool Box and locate the SSL certificate to be renewed (not the client, but the other).
Next to it, you will find a button with a small triangle, click it and click Renew.
Choose "Web Server SSL/TLS Certificate".
If domain verification must be performed again, click on the "Domain Validation" link displayed in the message.

Enter the root domain name (without the www.).
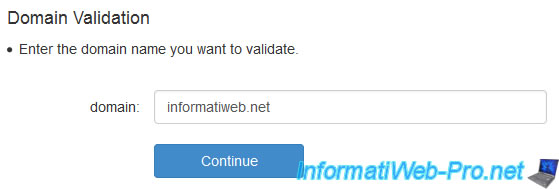
StartSSL will check the whois of your domain and it will ask you to choose the email address to which you want to receive the verification code.
Note : This is the email address of the owner and the various contacts of your domain.
Then, click on "Send Verification Code".
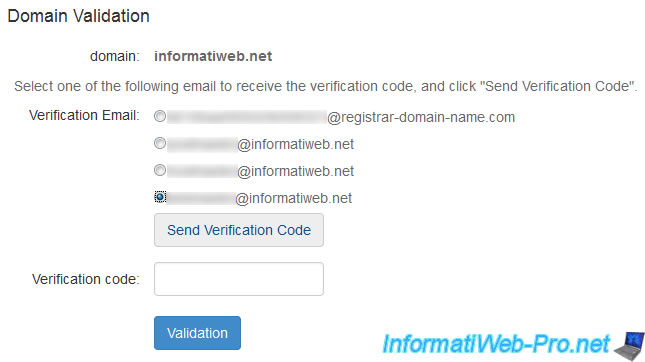
You will receive a code by email.
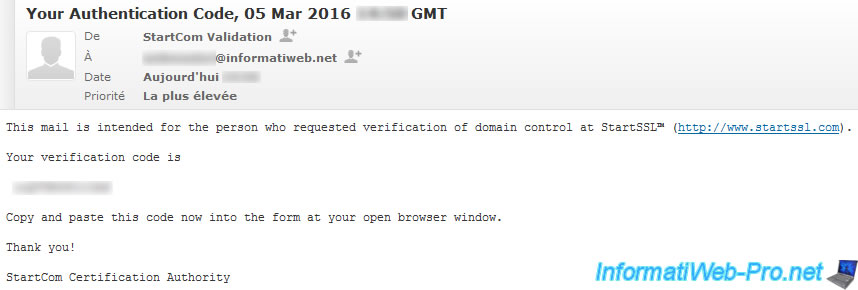
Just paste it in the box. Then, click Validation.
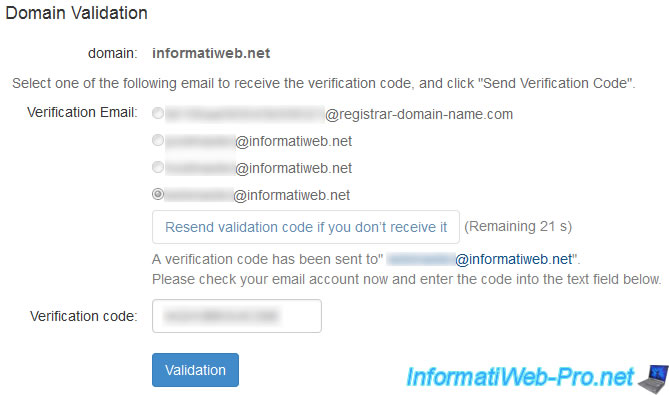
Now, your domain validation has been completed and will be valid for 30 days (as indicated by StartSSL).
Click "To Order SSL Certificate" to continue to renew your SSL certificate.

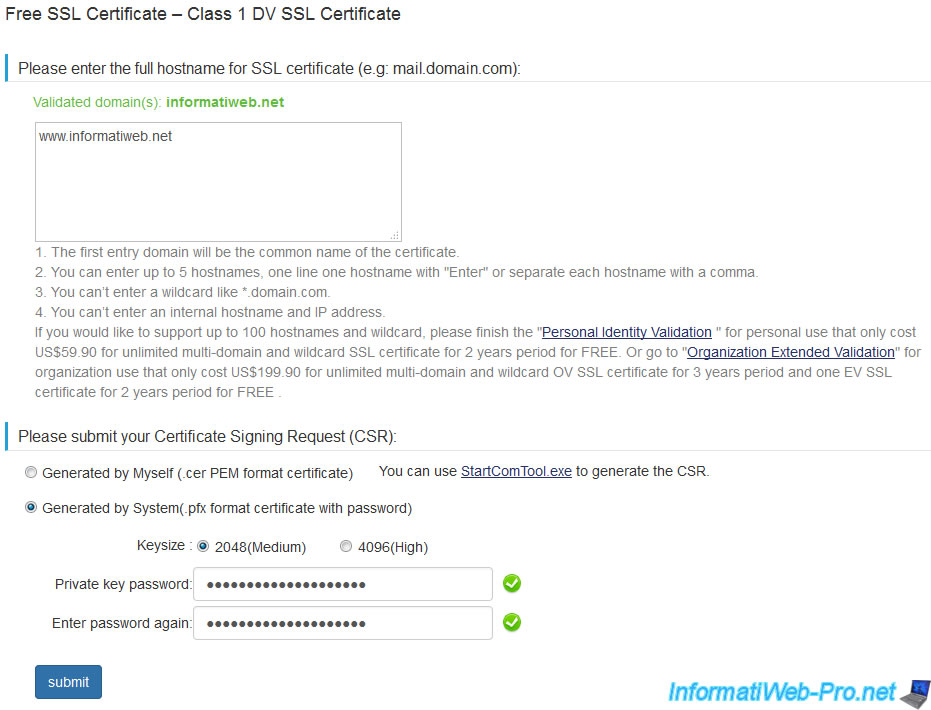
Enter the fully qualified domain name (with the www subdomain if your site is accessible from that subdomain) in the box.
Then, select whether you want to generate your SSL certificate from :
- a certificate signing request in PEM format
- or if you want that StartSSL generates the certificate request automatically.
Finally, enter a password to protect the private key.
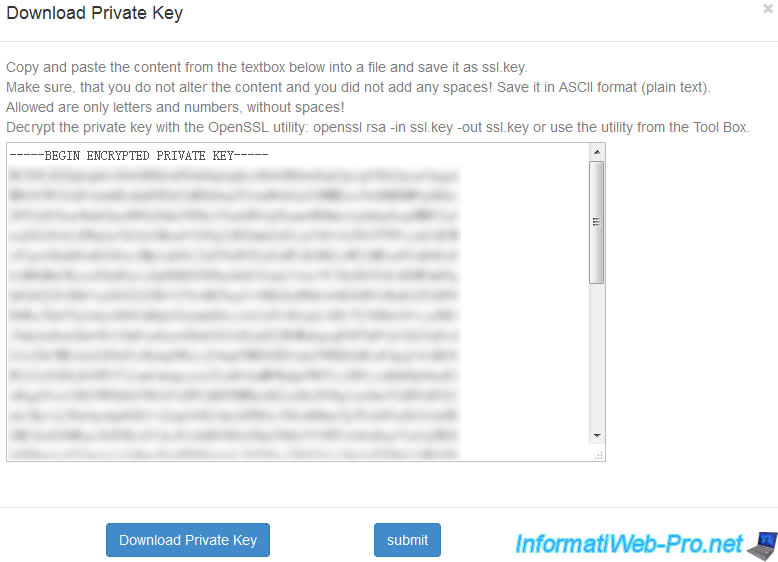
StartSSL shows you the private key in PEM format that you can use with your future SSL certificate.
Click "Download Private Key" or paste the entire text (with the BEGIN and END lines ...) in a "name.key" file.
Then, click Submit.
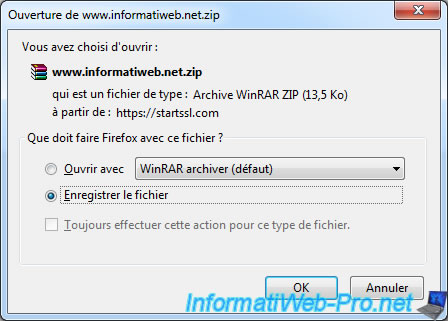
Now, StartSSL issued (created and signed) your new SSL certificate.
Click on the "here" link to download your certificate, intermediate certificates and root certificates of StartSSL that you will need to configure the https on your Apache web server, for example.

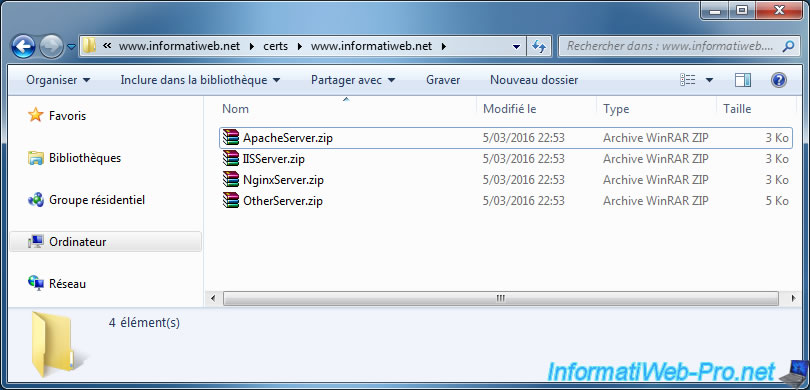
Since the new version of their site, StartSSL offers certificates for various known web servers.
Our new SSL certificate for our webserver is valid until March 2017.
Share this tutorial
To see also
-
Linux 7/24/2015
StartSSL - Secure your website for free
-

Linux 1/31/2014
Ubuntu - Install a complete web server
-

Linux 2/13/2014
Ubuntu - Secure your Apache web server (HTTPS)

You must be logged in to post a comment