- Linux
- 11 January 2014 at 20:48 UTC
-


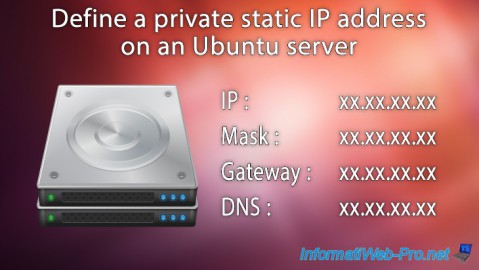
When you install Ubuntu on a machine to use it as a server, it is recommended to set a static IP address on that server to prevent the IP address of the server changes all the time.
Warning : this tutorial is outdated.
Recent versions of Ubuntu now use Netplan instead of the old "/etc/network/interfaces" file (which no longer exists).
- Uninstall the network manager (networkmanager)
- Configure the network interfaces manually
- Restart the network service to apply the changes
- Know its network configuration
1. Uninstall the network manager (networkmanager)
To set a static IP and make this setting persists address, you MUST remove the installed Ubuntu network manager. This program tends to do everything he can to keep the network connection, even delete your settings and reset your network connection automatically (Assigning the IP address via a DHCP server).
For this program avoids deleting your custom configuration, the easiest way is to remove :
Bash
sudo apt-get remove network-manager-gnome network-manager
Note : The network icon appear in the top bar (Ubuntu Desktop) has disappeared after uninstalling this program.
2. Configure the network interfaces manually
To configure your network interfaces, you must edit the "/etc/networks/interfaces" file.
Bash
sudo vi /etc/network/interfaces
By default, you will find the following lines:
Note : This is the configuration of the network card loopback called "local loop". This information is displayed by the command "ifconfig".
Bash
auto lo
iface lo inet loopback
Warning, do not delete these lines.
To configure your network interface (eth0), you must add the following lines :
Notes :
- Leave a blank line to separate the two interfaces.
- You can specify the DNS server because as indicated on the Ubuntu website , the utility "resolvconf" uses this file to get the regarding information servers (DNS servers).
Bash
auto eth0
iface eth0 inet static
# IP Configuration
address 192.168.1.6
netmask 255.255.255.0
gateway 192.168.1.1
# Serveurs DNS
dns-nameservers 192.168.1.1 8.8.8.8
Note : It is mandatory to specify which DNS servers to use as they had previously received from the DHCP server. Being that it has disabled use the DHCP server, we therefore find no DNS server address. It is therefore necessary to specify in order to regain access to google.com ...
If you then want to reset your network dynamic map, you can simply reset dhcp instead of static :
Bash
auto eth0
iface eth0 inet dhcp
3. Restart the network service to apply the changes
To restart the network service, you can simply type this command.
Ubuntu will show the command is deprecated but still it works correctly.
We do not recommend using this command stop and start as it crashed we graphical interface of Ubuntu and we did just restart our Ubuntu machine.
Bash
sudo /etc/init.d/networking restart
4. Know its network configuration
To know your IP address, MAC address and other information about your network configuration, type the following command :
Bash
ifconfig
Share this tutorial
To see also
-

Linux 2/4/2014
Debian / Ubuntu - Install a FTP server
-

Linux 12/20/2014
Debian / Ubuntu - Monitor your server with Monit
-

Linux 9/18/2016
Partition your hard drive with fdisk
-

Linux 8/23/2016
PuTTY - Fix the issue with the numeric keypad
You must be logged in to post a comment